This website and the guidebook use the Yosemite Decimal System (YDS) to rate climbs. The ratings are set out below but first a few comments. While I have attempted to assure the accuracy of every entry in the book, climbing every Idaho mountain by every route is impossible for any one person. Thus, while many routes are described entirely from my personal experience, other routes were described using extensive map analysis and syntheses of other available information such as trip reports and climber interviews.
As an author and user of guidebooks, I understand how frustrating following route descriptions can be. Some guidebook authors attempt to list detailed descriptions of every twist and turn of a complex route, akin to Google Map directions. Yet when you actually attempt to follow the description, the directions seem so far off that you come to believe that you are on the wrong mountain! Other route authors provide much less instruction–for example, “Follow the easy slopes to the summit.” But when you do so, you find a near vertical slope capped by overhanging cliffs!! So all of a sudden, the route rating seems off. Why do these discrepancies exist or are they really discrepancies?
First, for various reasons, errors in route descriptions do occur. Second, like any other skill, some authors are just better writers than others, and authors have good and bad writing days. So there’s that. Third, while you may read or interpret something incorrectly, you probably aren’t the problem. After all, a route description is not rocket science to understand and the ratings are broadly defined. Fourth, if you climb the route with the author, they could easily explain how their description and rating is accurate. So…why can’t I follow your route? Why is the rating harder or easier than you described? What’s really going on?
In reality, discrepancies in route descriptions and ratings likely result from the inability of “both” authors and readers to translate and interpret descriptions of linear miles, over hundreds-to-thousands of feet of elevation, laid out across vast landscapes, in constantly-changing natural environments into, and out of…words….and then…to use those words to select a rating. So while route descriptions are not technical in concept, they can be daunting to capture, summarize, interpret and assign a rating to which everyone agrees. Complicating things, route descriptions are static. A description written in the 1980s may not have an accurate rating today. Mountain environments are eroding and changing…daily, so route conditions and difficulty may significantly change at any time. Now what?
- Research, research, research. Before you put on a daypack or backpack, get as much information about a route as you can. Compare that author’s route description to other authors’ route descriptions. Are the ratings the same? If not, delve deeper. Find a route description you like? Then compare it to another route that same author has written that you have done. Do you agree with the author on the route you know? If so, that should bolster your confidence in their description of the route that you want to do.
- Really, really know your skills and limitations. Understand the ratings with your experience. If you are attempting something above your level, be sure to explore lower-rated escape routes so you can get off the mountain safely.
- Constantly monitor your progress on the mountain. If you’re expecting a Class 3 route and you are making Class 5 moves, you are off-route and need to immediately evaluate what you are doing and how you should adjust. Read this article to learn about the dire consequences of forging ahead when you are off route: Death on the Way to Mount Church
- Keep looking back. The majority of accidents happen on the descent, not the ascent. Make sure you want to reverse that Class 4 slope as you are climbing it, not after.
- Share your experiences. Most authors welcome updated route information. Among the reasons I established the IACG website is to capture new Idaho routes and update current routes, so we can be safe and successful out there! Join us!
“Getting to the top is optional. Getting down is mandatory.” – Ed Viesturs
Above all, remember that climbing route ratings are designed to inform a person of the difficulty of the climb. While the numbers seem objective, there is a great deal of subjectivity built into them. Finally, both the person rating the climb and the person following the route are human and what may be difficult to one may be “a piece of cake” to the other.
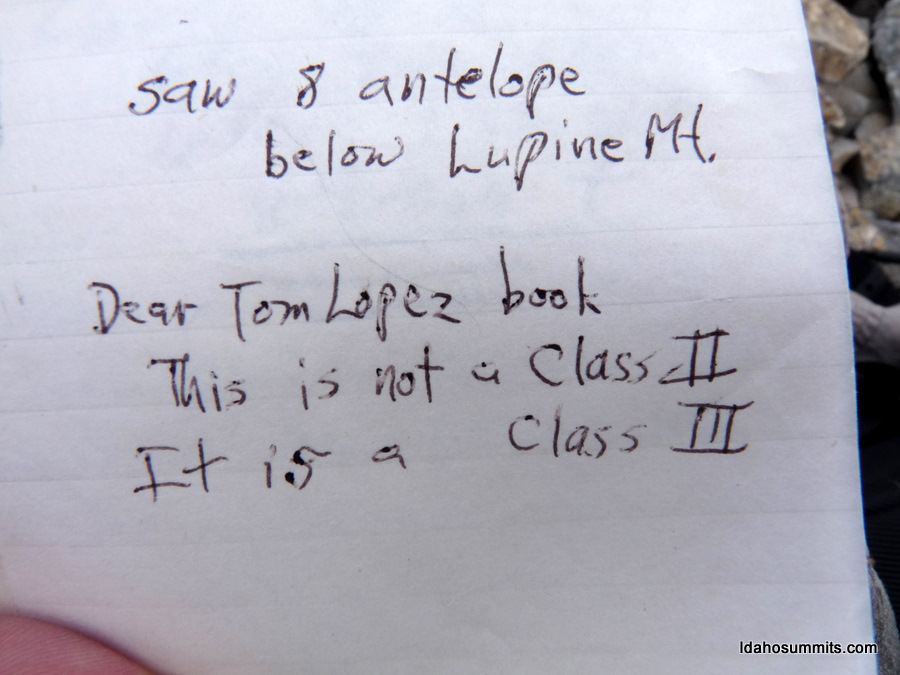
As this note found on the summit of a White Knob summit demonstrates, not everyone will agree with the ratings in the book. Its always best to use your own judgment. Dan Robbins Photo
Yosemite Decimal System
The Yosemite Decimal System (YDS) was introduced in the U.S. by the Sierra Club in 1937. This system rates climbing routes by the type of climbing (the Class) and by the length of commitment needed to complete a climb (the Grade). For complete descriptions and a comparison chart of the various rating systems, see Mountaineering: The Freedom of the Hills, 8th edition, published by Mountaineers Books. Thus, a YDS-rated climb will have a grade and class designation. There are six Classes (1–6) and six Grades (I–VI).
Routes are graded based on the interplay of the route’s length, average difficulty, exposure, quality of the rock and any other factors that might affect the difficulty of a technical climb. Grade I climbs take 1-2 hours, Grade II climbs up to 4 hours, Grade III climbs may take the entire day, Grade IV climbs take at least a day with difficult technical climbing, and Grades V and VI climbs encompass big-wall climbing of increasing difficulty. While only a few of the routes in the book are graded, many of the Class 3 routes are at least Grade III due to the remoteness of many peaks.
All of the routes have been classified into one of 6 Classes. Keep in mind that the rating is for the most difficult move on the route (the crux). Thus, a Class 3 climb might have only one short pitch of Class 3 climbing and is otherwise a walk-up. On the other hand, a Class 3 route might involve continuous climbing along the way. Finally, if there is a “+” sign after a Class 1, 2, or 3 rating, it means the rating is verging on the next harder class. So, in the case of Class 1+ climbs, it means the trail is in poor condition and hard to follow. Class 2+ means you can easily get off route and onto Class 3 terrain. Class 3+ means the climbing difficulty is verging on Class 4.
- CLASS 1 Hiking. There is a trail/road the entire way to the summit (though the trail/road may not be in great condition).
- CLASS 2 Off-trail scrambling. These routes are off-trail but you can probably walk to the summit. You may occasionally have to use your hands for balance but not to climb.
- CLASS 3 Climbing. These routes involve actual climbing where your arms and hands are used to propel yourself up the slope. Class 3 climbing uses obvious holds and involves minimal exposure. Nevertheless, a fall will hurt.
- CLASS 4 Belayed climbing. These routes involve climbing that may be no more difficult than Class 3 climbing, but does subject the climber to increased exposure where a fall will likely cause serious injury. Training and proper equipment is essential.
- CLASS 5 Belayed climbing with leader placing protection. This is technical rock climbing, pure and simple. Training and proper equipment is a necessity.
- CLASS 6 Involves artificial-aid climbing using pitons, bolts, or any other hardware placed in the rock to serve as a hold or for support.
Class 5 climbing is further broken down into degrees of difficulty under the Yosemite Decimal System. The fourth edition of Mountaineering: The Freedom of the Hills attempted, somewhat tongue-in-cheek, to put objective criteria to what has often been a very subjective set of numbers. Although not all climbers will agree with this breakdown, it does provide some objectivity to what has tended to be an extremely subjective set of numbers.
- 5.0–5.4 There are good, obvious handholds and footholds for each move. The smaller the hold, the greater the difficulty.
- 5.5–5.6 Handholds and footholds exist, but are not obvious to the untrained.
- 5.7 Either one handhold or foothold is missing.
- 5.8 Two holds out of four are missing.
- 5.9 Only one hold exists for each move.
- 5.10 There are no holds at all.
- 5.11 Such routes are impossible to climb, but someone has done it.
- 5.12 The rock is smooth and flawless.
- 5.13 The rock is both smooth and flawless and overhanging.
- 5.14 Use your imagination.
Class 6 climbing is also broken into 6 subcategories. Although this book is not directed toward this type of climbing, a few of the routes within involve aid climbing and so the following breakdown is provided. It should be noted that rock climbers are now climbing (without aid) what were originally aid routes.
- A0 Placement is used as a hold or to allow a resting spot.
- A1 Etriers (aid slings for your feet) are utilized. Placements are solid and safe.
- A2 Placements are harder to find and are less secure.
- A3 Placements are not likely to hold a significant fall.
- A4 Placements are downright shaky and cannot be expected to hold a fall.
- A5 Continuous use of A4 placements.
For information on grading bouldering problems, check out 99 Boulder’s Bouldering Grades: The Complete Guide at this link: Bouldering Grades
Climb safely and have fun!