Elevation: 10,970 ft
Prominence: 350
Climbing and access information for this peak is on Pages 309-310 of the book. The route in the book is Rick Baugher’s route up the peak’s southeast face. Larry Prescott’s route climbed to the summit from Badger Creek via the peak’s northwest gully. Larry then continued on traversing the connecting ridge to Little Diamond Peak. Livingston Douglas has provided the two additional routes (set out below) for the west gully/west shoulder and the south ridge/west gully south. Updated December 2019
Black and White Peak is one of the top 10ers in Idaho and is Idaho’s 130th-highest peak. The book lists only one route on the seldom-climbed summit. USGS Fallert Springs.
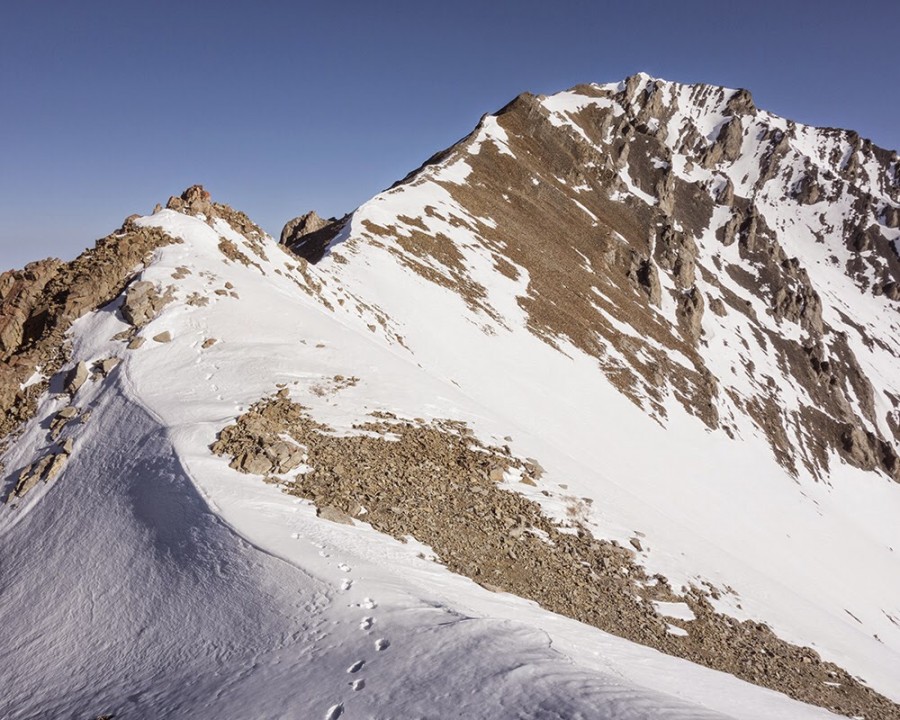
The south ridge of Black and White Peak with a false summit in the foreground. Larry Prescott Photo
West Gully/West Shoulder and the South Ridge/West Gully South by Livingston Douglas
West Gully/West Shoulder, Class 3
Access
Badger Creek Road [(C)(10) on Page 318]. Badger Creek Road (signed) is located 23.3 miles north of Howe on the Little Lost River Highway (paved). Turn right/east onto Badger Creek Road. After crossing a cattle guard, make an immediate right/east turn BEFORE reaching a nearby gravel pit. At 4.5 miles, you reach the mouth of Badger Creek Canyon and a small grassy meadow and a parking/camping area. Park here (6,750 feet). The road is narrow and overgrown after this point. If you have the appropriate vehicle, you may be able to drive as far as a junction in a meadow at Bunting Canyon.
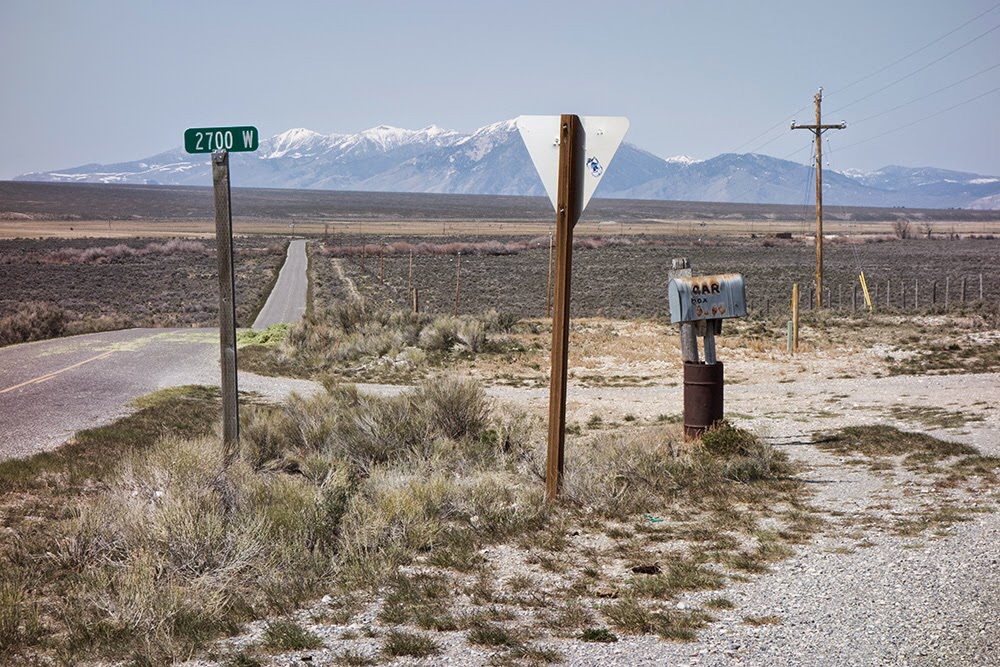
The Badger Creek Road/Little Lost Highway intersection in 2015. Larry Prescott Photo
The Climb
From the mouth of Badger Creek Canyon, hike up Badger Creek Road/Trail for 1-1/2 miles to a signed junction with Bunting Canyon Trail (FST-4340) just upstream from a major fork in the valley. Go straight/east on FST-4340 and follow the old road up Bunting Canyon until the road ends at about 7,550 feet. Follow a good use trail from here up the left/north side of Bunting Creek. The trail drops to cross the creek and move to its right/south side in a clearing.
Continue to follow this good trail up to reach a long, open meadow at tree line. If you lose the trail, just keep following the drainage as it bends from an eastward trajectory to a southern trajectory. Do a 1-mile cross-country trek through brush/scrub to reach the base of the west gully of Black and White Peak. This gully cuts the west face and is located at about 9,050 feet. There is a patch of scattered pines on the shoulder on the gully’s far side (south side)—see photo.
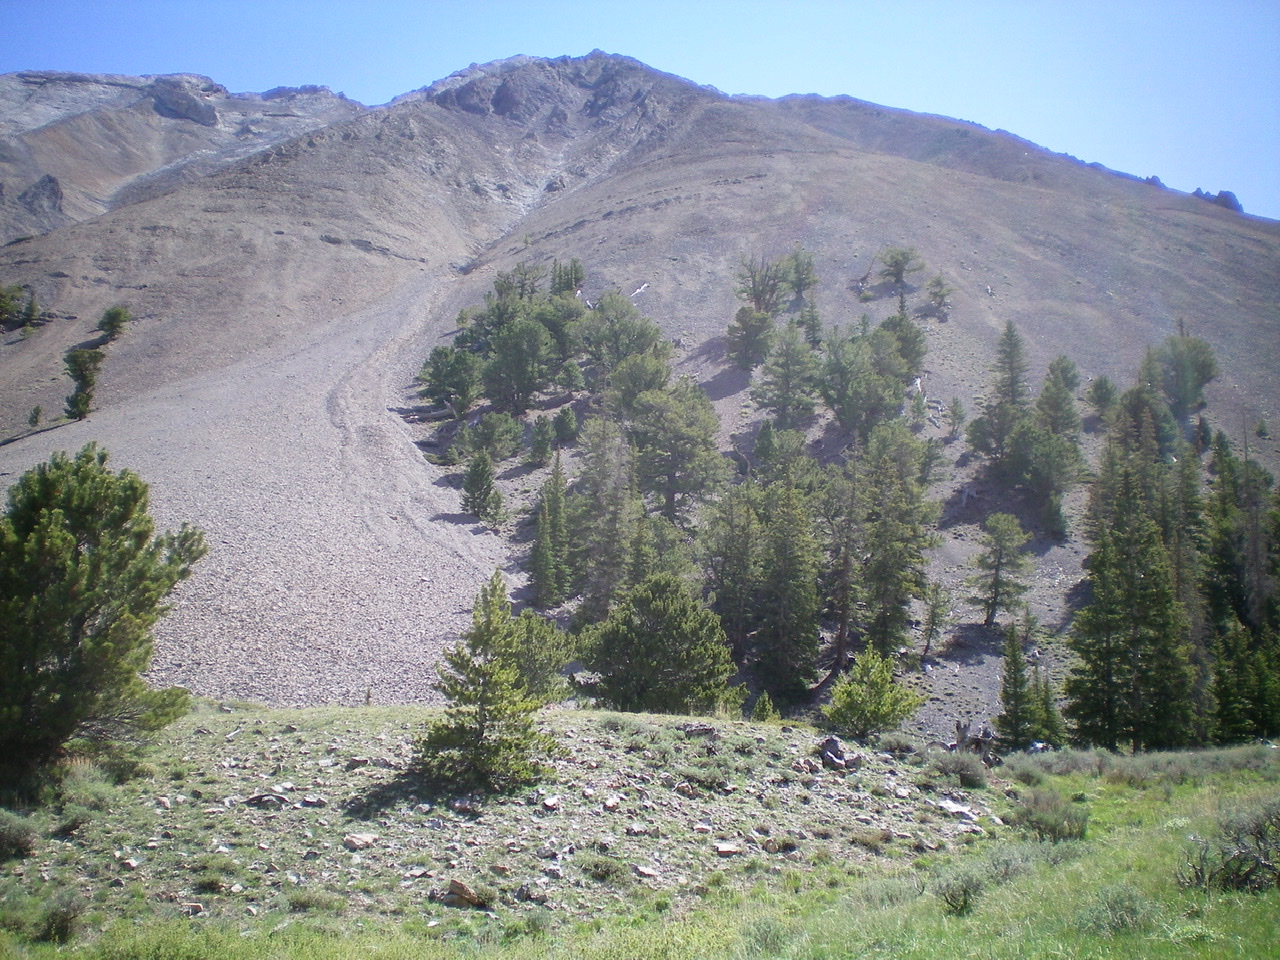
The west gully (center of photo) and west shoulder (has trees on its lower section) of Black and White Peak. The west ridge is on the left side of the gully. The west shoulder is on the right side of the gully. The ascent route begins left of the trees in the center of the gully then moves rightward onto the shoulder higher up. The shoulder then bends left-ish to join the west ridge high up. Livingston Douglas Photo
The terrain on the west face of Black and White Peak is very loose scree/gravel and it is quite steep in sections. The gully is a more stable area to climb this loose terrain than the nearby shoulder. Scramble east up the center of the gully until it narrows and ends at a series of cliffs. The terrain in the gully includes face rock, slabs, and ledges to help you avoid the worst of the loose scree/gravel. When you approach the top of the gully at the cliff face, leave the gully and climb right/south up onto the shoulder. The shoulder has some embedded boulders and talus to give you some element of stability in what is otherwise very loose terrain. You will be on all fours in some areas of the loose scree/gravel to make any headway.
Higher up, the shoulder becomes rocky and joins the west ridge. The ridge rock gets steep and challenging (full-on Class 3) but is a JOY compared to the loose scree/gravel slopes below. The west ridge soon terminates as it reaches the south ridge. A short scramble north on the narrow, rocky, exposed south ridge brings you to the [gentler] summit area. The summit area has multiple rocky ridge humps, fairly close to each other. The summit high point has a decent cairn.
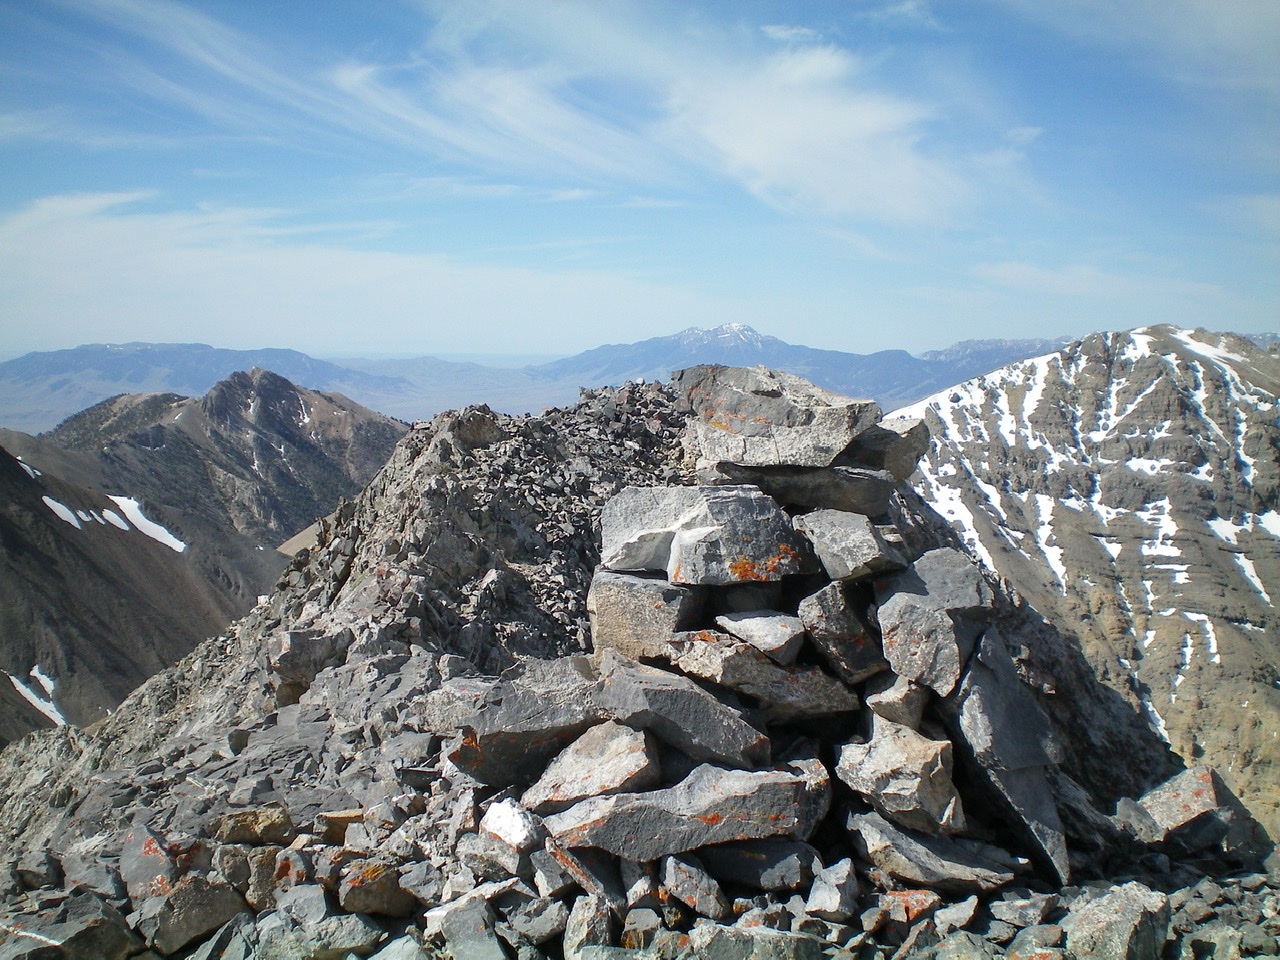
The summit cairn atop Black and White Peak. Livingston Douglas Photo
South Ridge/West Gully SOUTH, Class 3
Access
Same as for the west gully/west shoulder
The Descent
From the summit, descend the narrow (sometimes knife-edged) south ridge on crumbly, exposed ridge rock. There is steep, loose scree on the ridge’s left/east side. Try to avoid it. Skirt the right/west side of the fin-like outcrops. In some instances, you must down-climb steep face rock/ledges to avoid the impossible knife-edged nature of the ridge crest. You will occasionally find goat trails on the right/west side of the ridge crest to help you get through the difficult sections. As you approach the small saddle at 10,380 feet, move back onto the ridge crest.
From the saddle, descend an obvious gully on the west face (the west gully SOUTH) to reach the valley floor. This descent is surprisingly treacherous and goes at Class 2+/3. High up, the terrain is very loose talus. Farther down, there is hard-packed gravel that is not ski-able and is dangerous. There always seems to be loose talus/scree to patiently work down through. You will be happy to reach the gentle, green tundra of the upper basin at the head of the valley. From there, make the long, laborious trek all the way back down Bunting Canyon to Badger Creek and follow the road/trail for 1-1/2 miles back to the mouth of Badger Creek Canyon.
Larry Prescott’s Route
Larry’s trip report is linked below. Since his primary goal was Little Diamond Peak his report focuses more on the traverse of the connecting ridgeline rather than the northwest gully.
Additional Resources
Regions: EASTERN IDAHO->Lemhi Range
Mountain Range: Lemhi Range
Longitude: -113.07509 Latitude: 44.08739
Pingback: Southern Lemhi Traverse by Daniel Todd - IDAHO: A Climbing Guide