Elevation: 10,512 ft
Prominence: 452
Climbing and access information for this peak is on Page 310 of the book. A new route up the Southwest Ridge is the first route set out below. Farther down the page you will find two more difficult routes (likely a first ascent and first descent) submitted by Livingston Douglas. Updated December 2019
Sunny Bar Peak is seldom climbed despite the fact that an ascent to its summit is a quintessential Lemhi Range peak climb. The route described in the book climbs the south ridge from Fallert Springs. USGS Fallert Springs
Southwest Ridge, Class 2
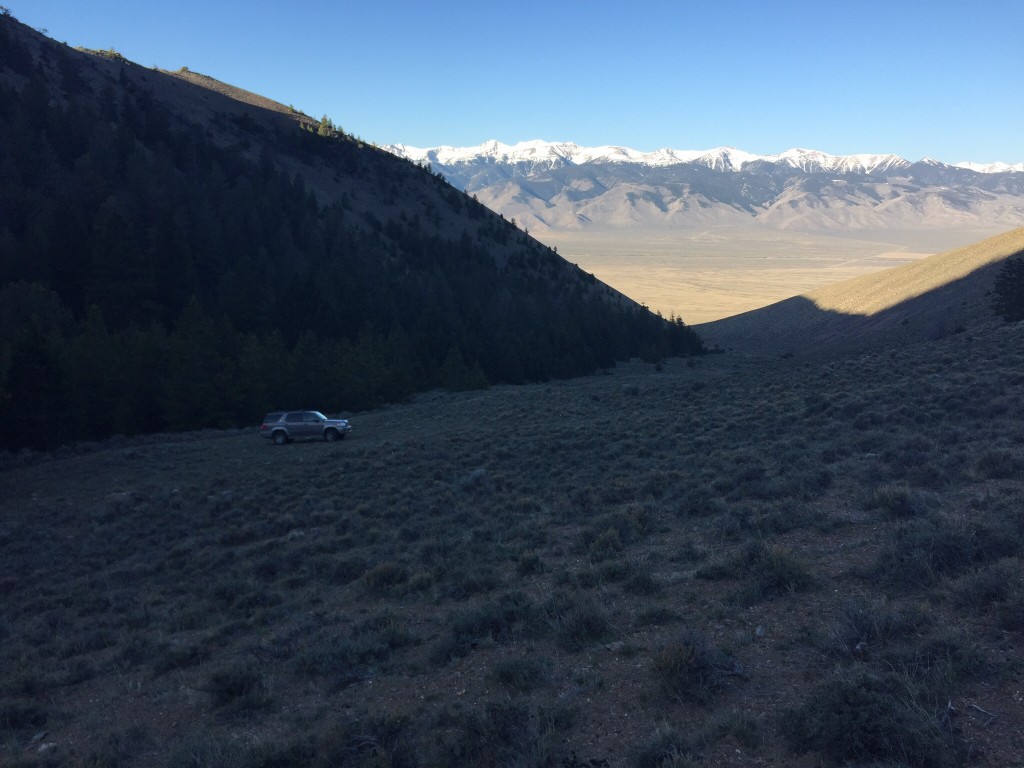
The peak’s wandering and complicated southwest ridge is best accessed via the Rocky Run Creek drainage. A 4WD vehicle with high clearance is necessary to drive this road. 15.3 miles north of Howe, a County Road leads from the Little Lost River Highway to the start of the rugged, steep 2-track road that leads into the canyon. It’s 5.4 miles from the highway to the road’s end.
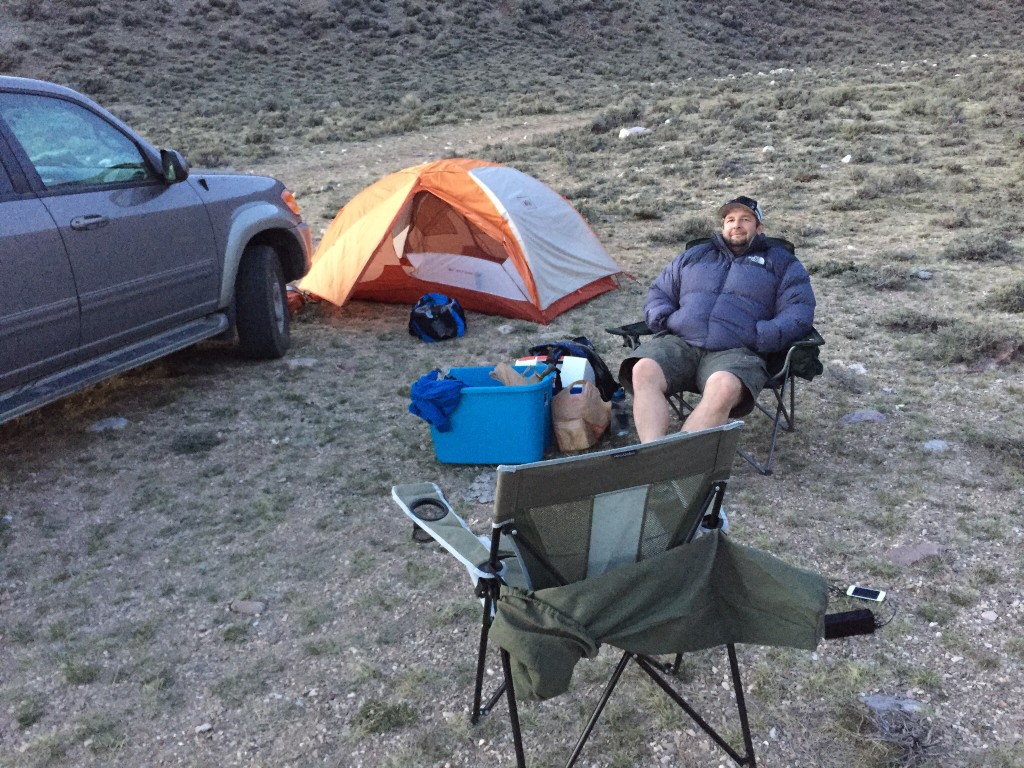
Once inside the canyon, you will find a sign for “Rocky Run Creek.” There are two spots here that are level enough for small tents. The road continues up the canyon gaining another 500 feet of elevation to a spot where it crosses the creek. Park here at 7,100 feet. You may find a spot in this area level enough for a tent.
From this point, you will see a broad rib descending toward you from the southwest ridge. Ascend this rib. As you climb, you will start finding game trails, some of which are exceptionally well developed. You can either continue to climb the 1,000+ feet to the top of the ridge or start contouring up toward the right on one of the many elk trails you encounter. In any case, you need to get to the top of the ridge at some point before you reach the 8,200-foot contour. From this point, the ridge is well defined as it jogs north for a bit and the turns northeast toward the summit. At times, you will find good elk trails leading you up and, at other points, the trails zig-zag across the ridge. Please note that although the route is rated Class 2 you may encounter some Class 3 moves depending on how you choose to climb the summit block.
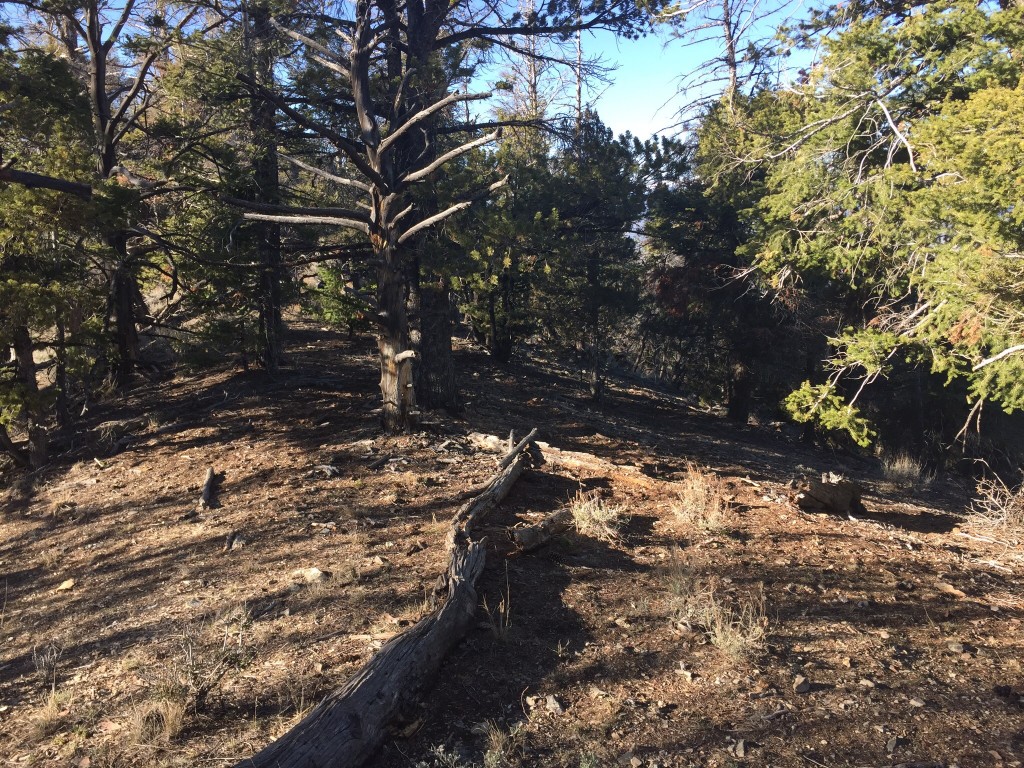
Looking back on the starting point from a couple hundred feet up the rib.
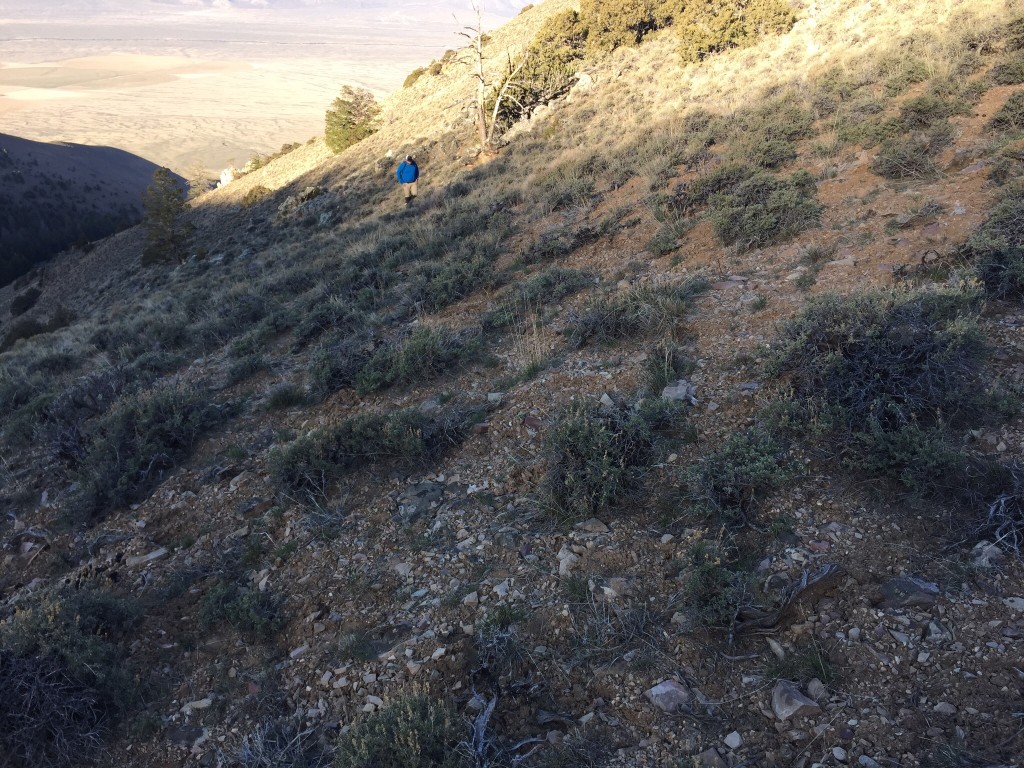
Following an elk trail up toward the ridge crest. Some of these game trails rival Forest Service trails but the have a nasty habit of ending in spots where the forage is thick enough to disperse the herd.
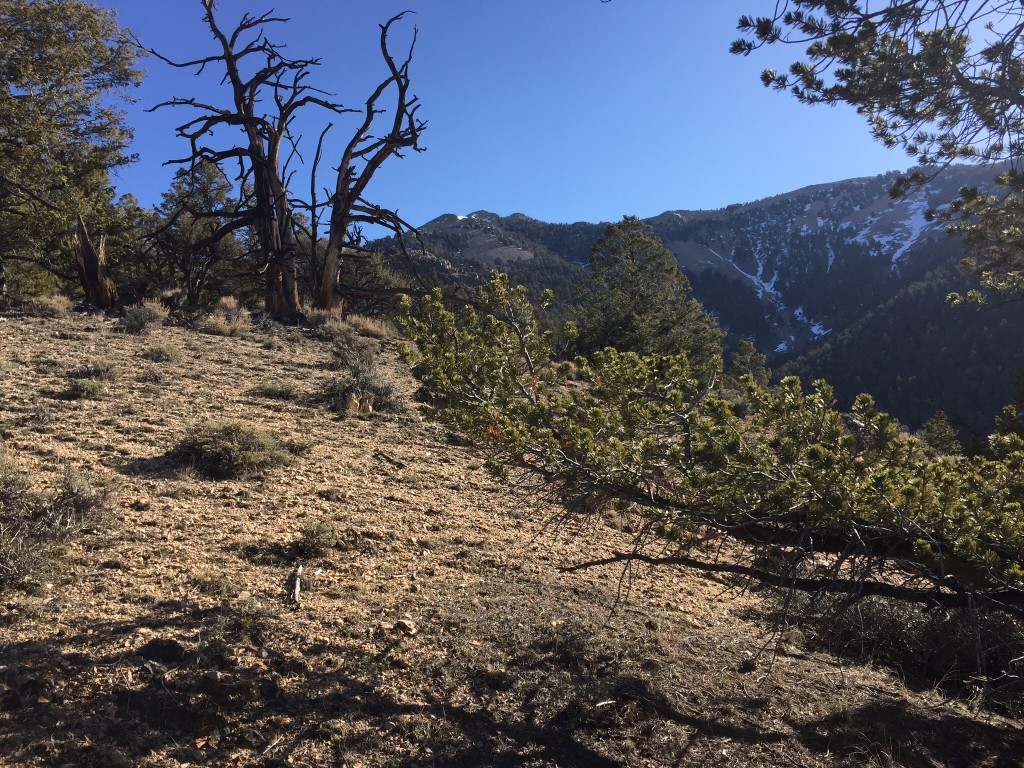
The top of the southwest ridge offers good footing and mostly open landscape.
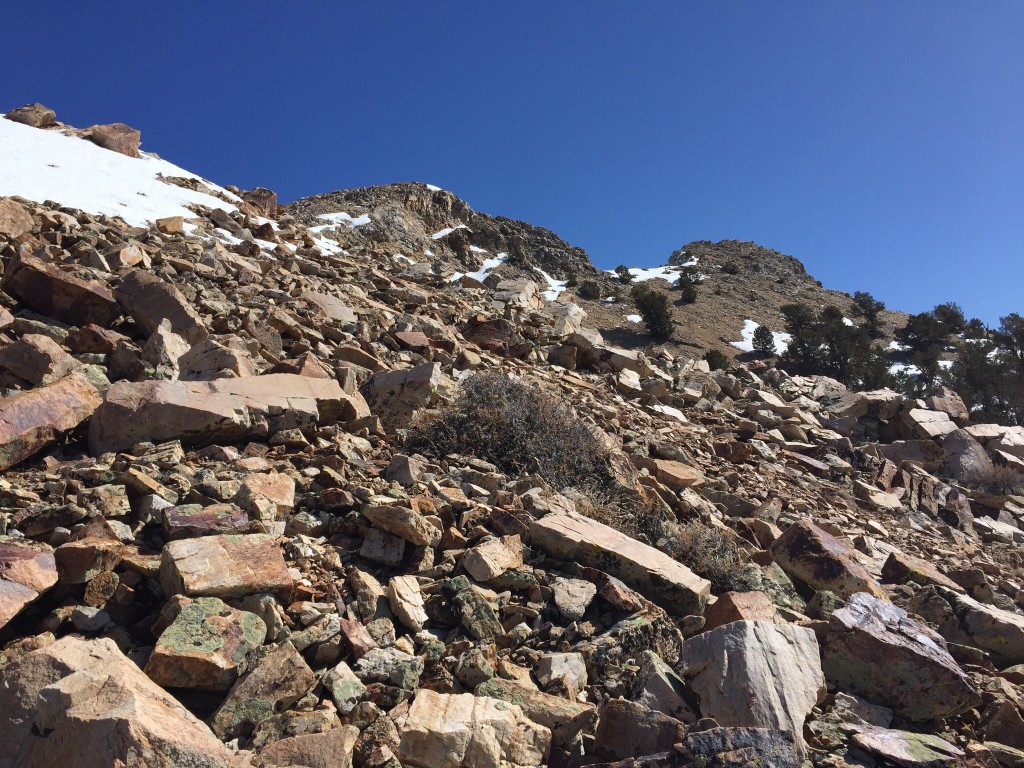
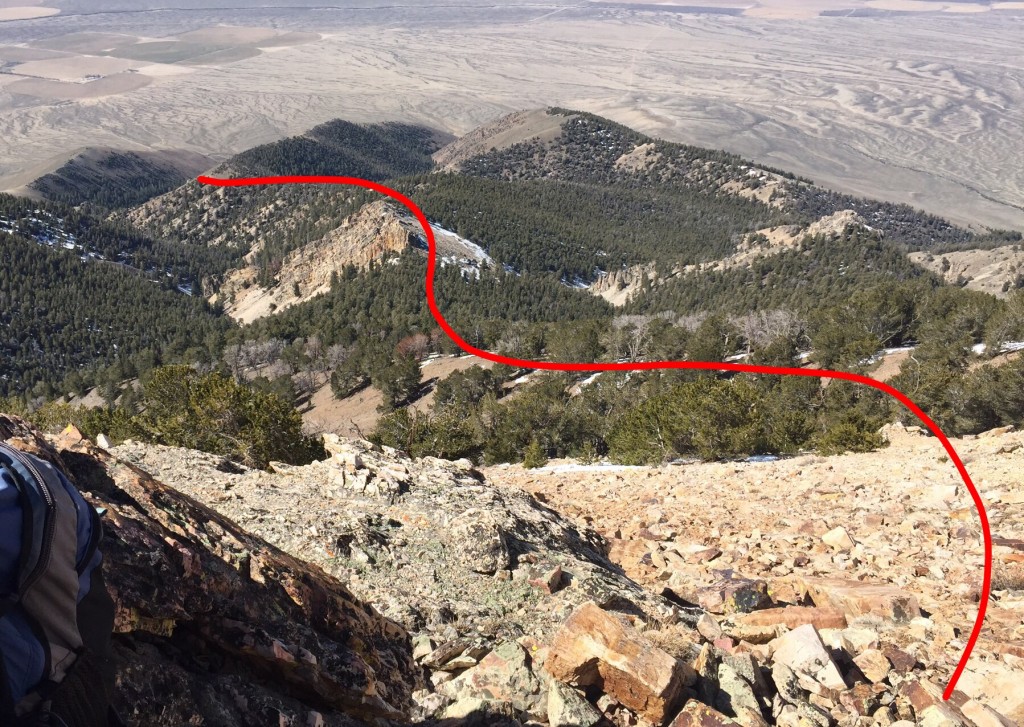
At the 8,400-foot contour, there is a rocky formation blocking the ridge crest. Pass it on its north side by side-hilling across a talus field. Continue on up the ridge to tree line, where you will find another rocky section that is also passed on its north side. The summit is just above this point.
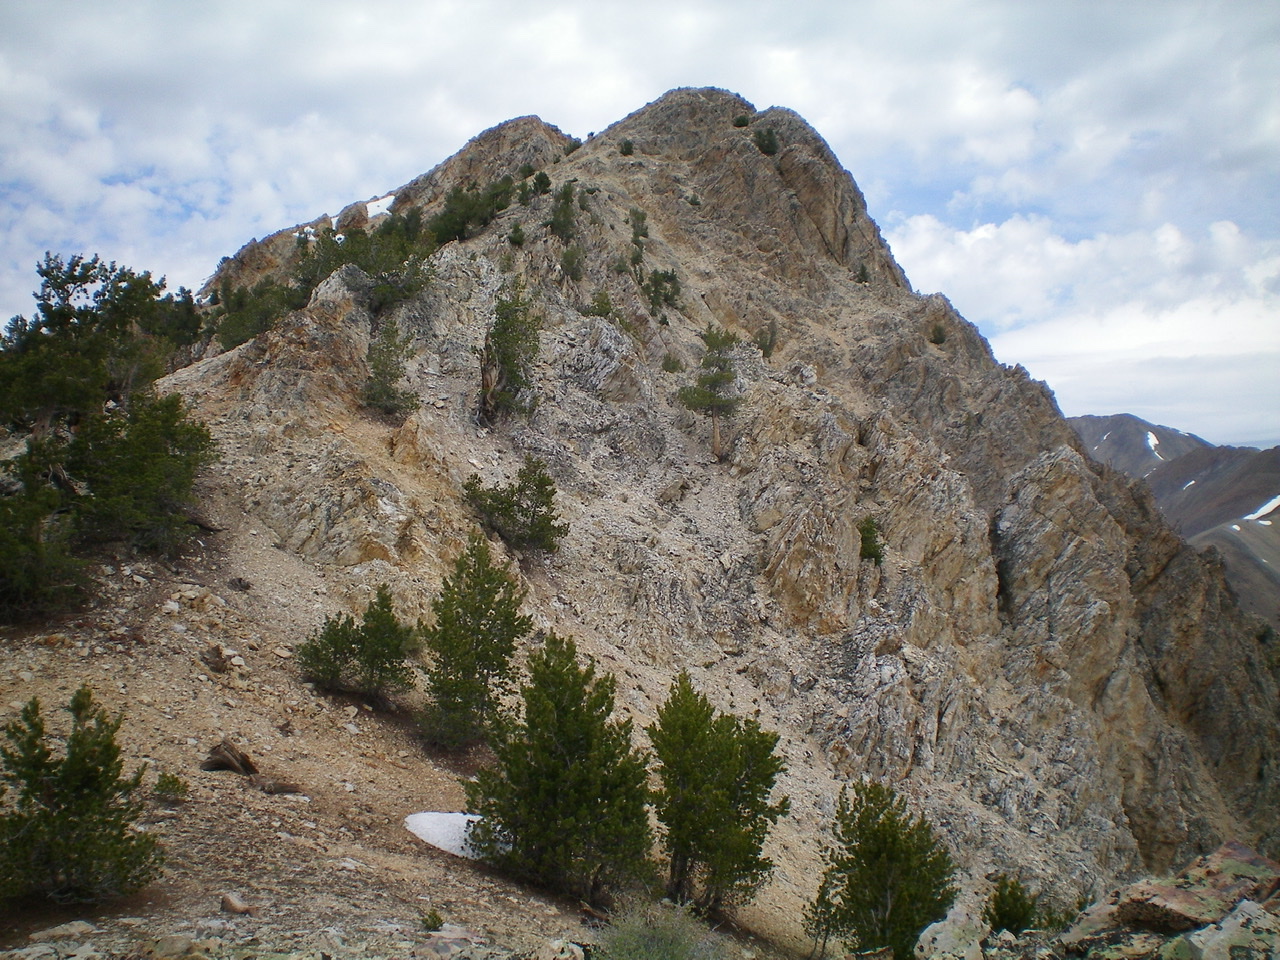
The first view of the summit from the southwest ridge.
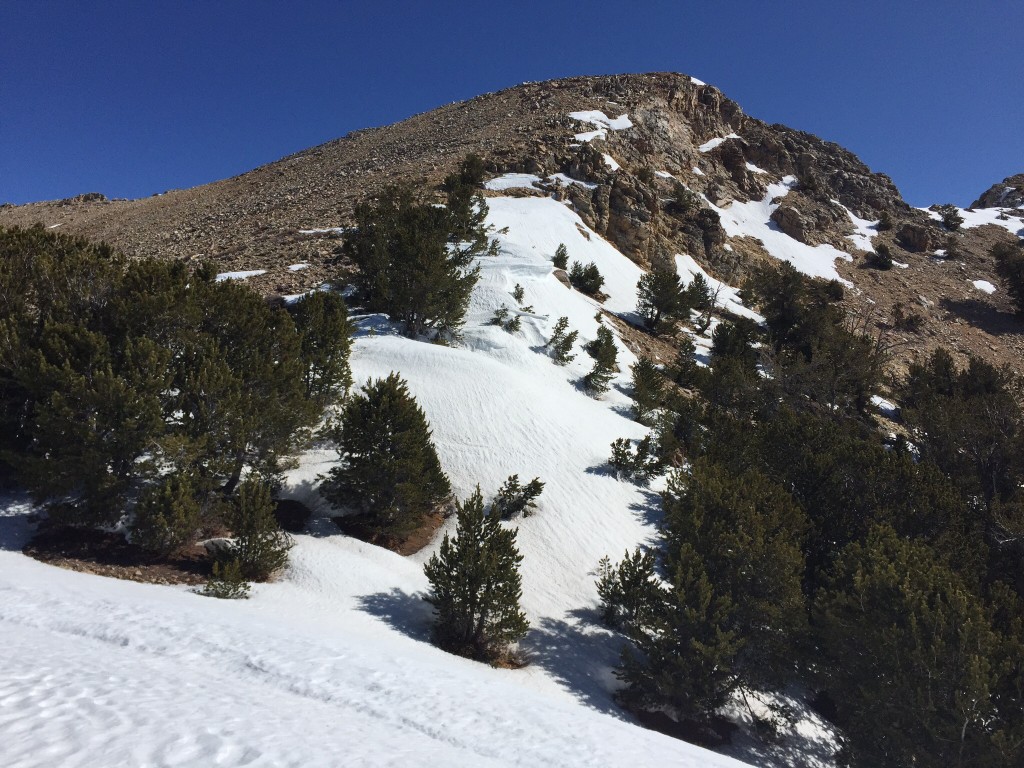
The view up from the edge of tree line.
Looking up to the summit of Sunny Bar Peak.
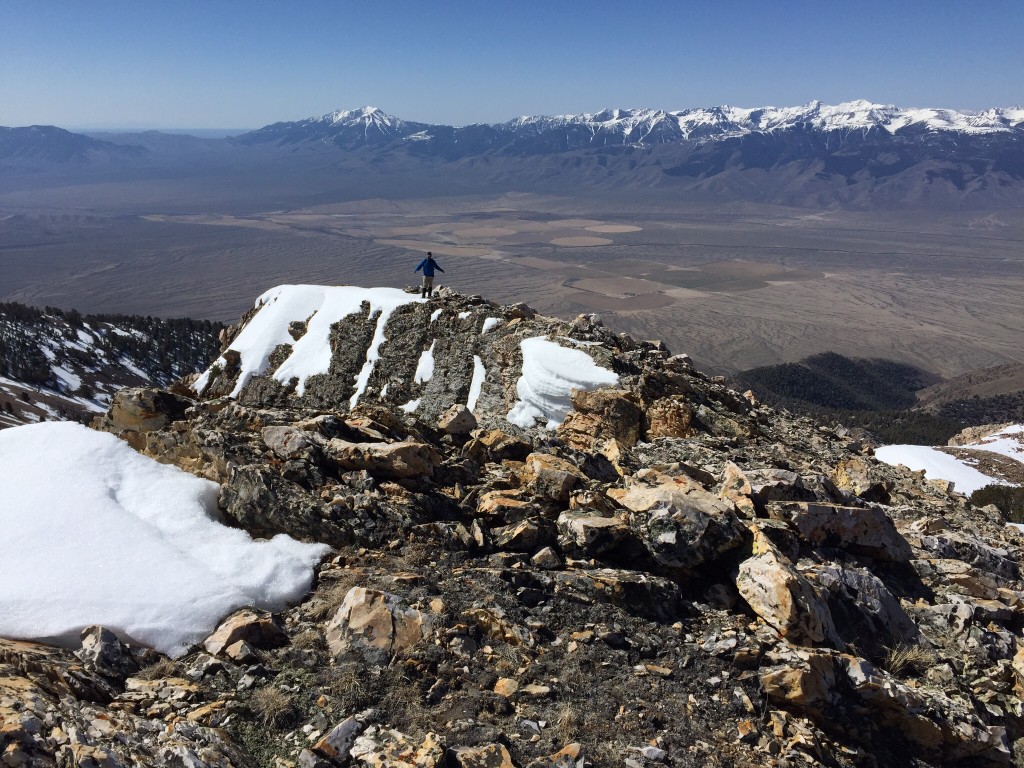
Dan Robbins arriving at the summit.
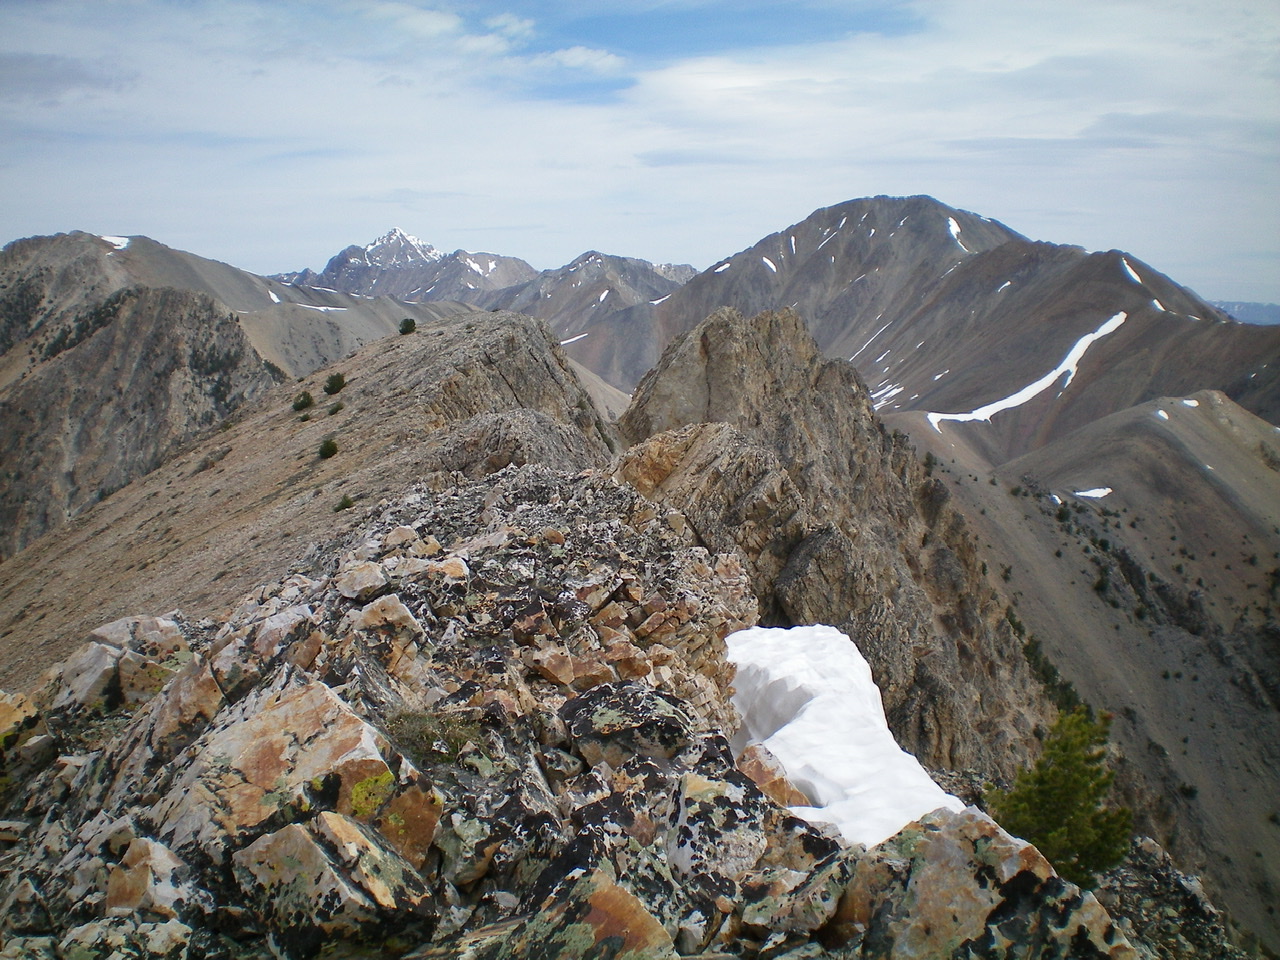
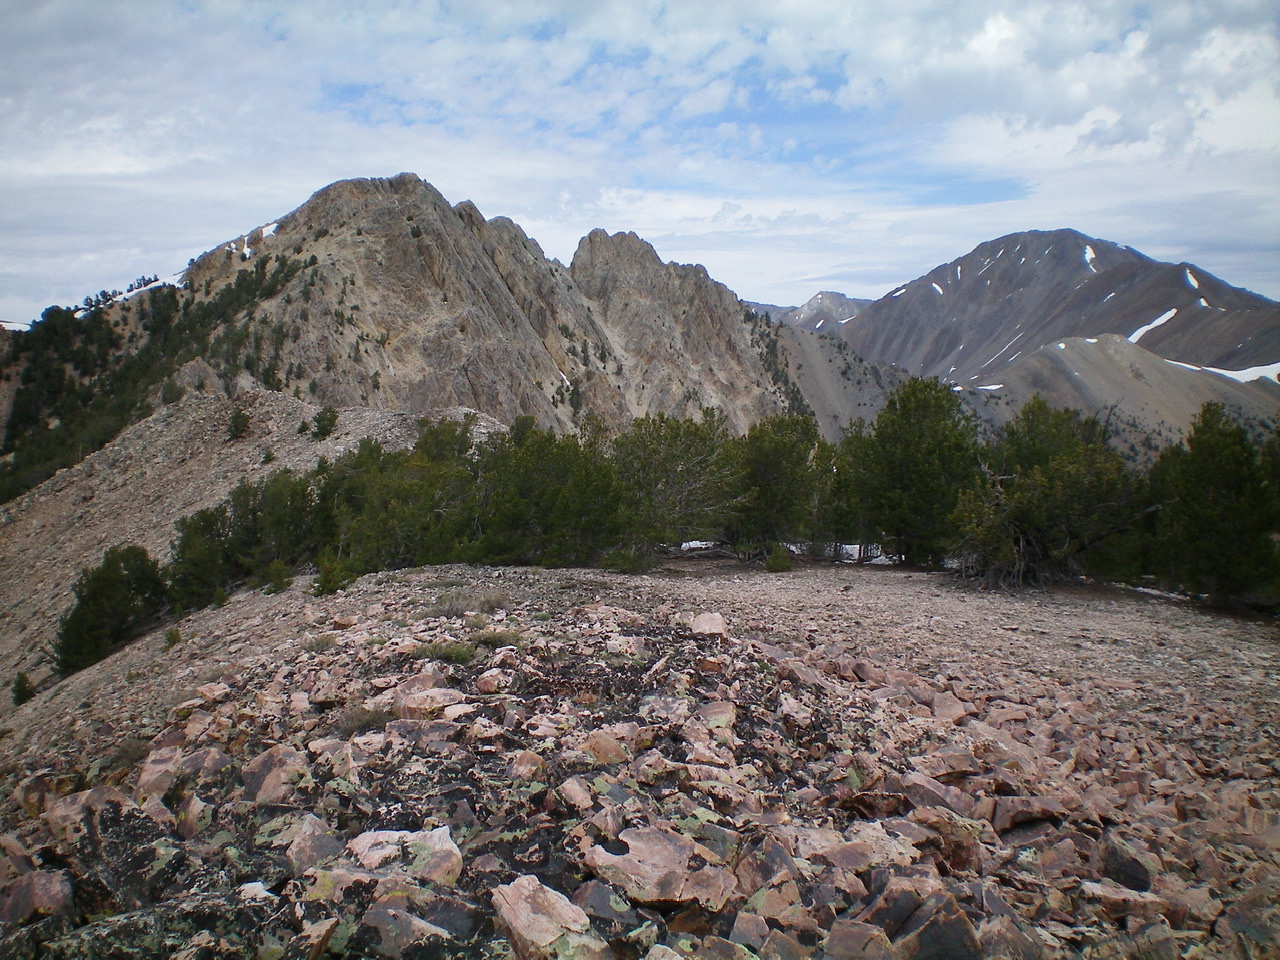
The southwest ridge as viewed from the top. Route stats: 3.0 miles one way with roughly 3,600 feet of elevation gain.
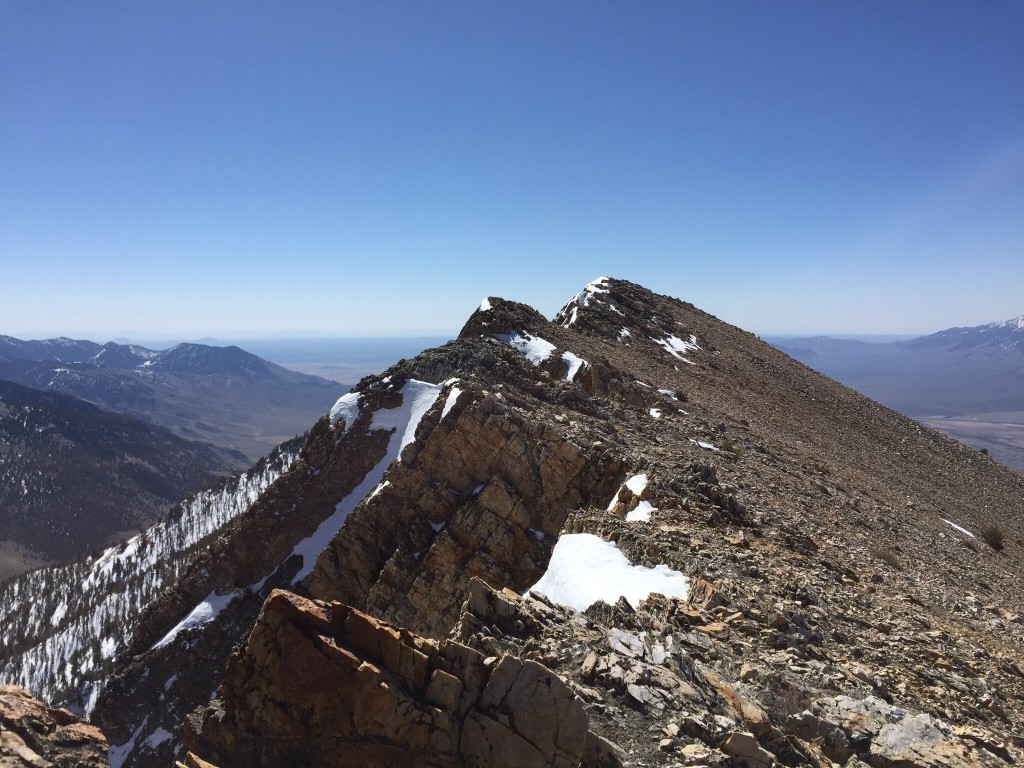
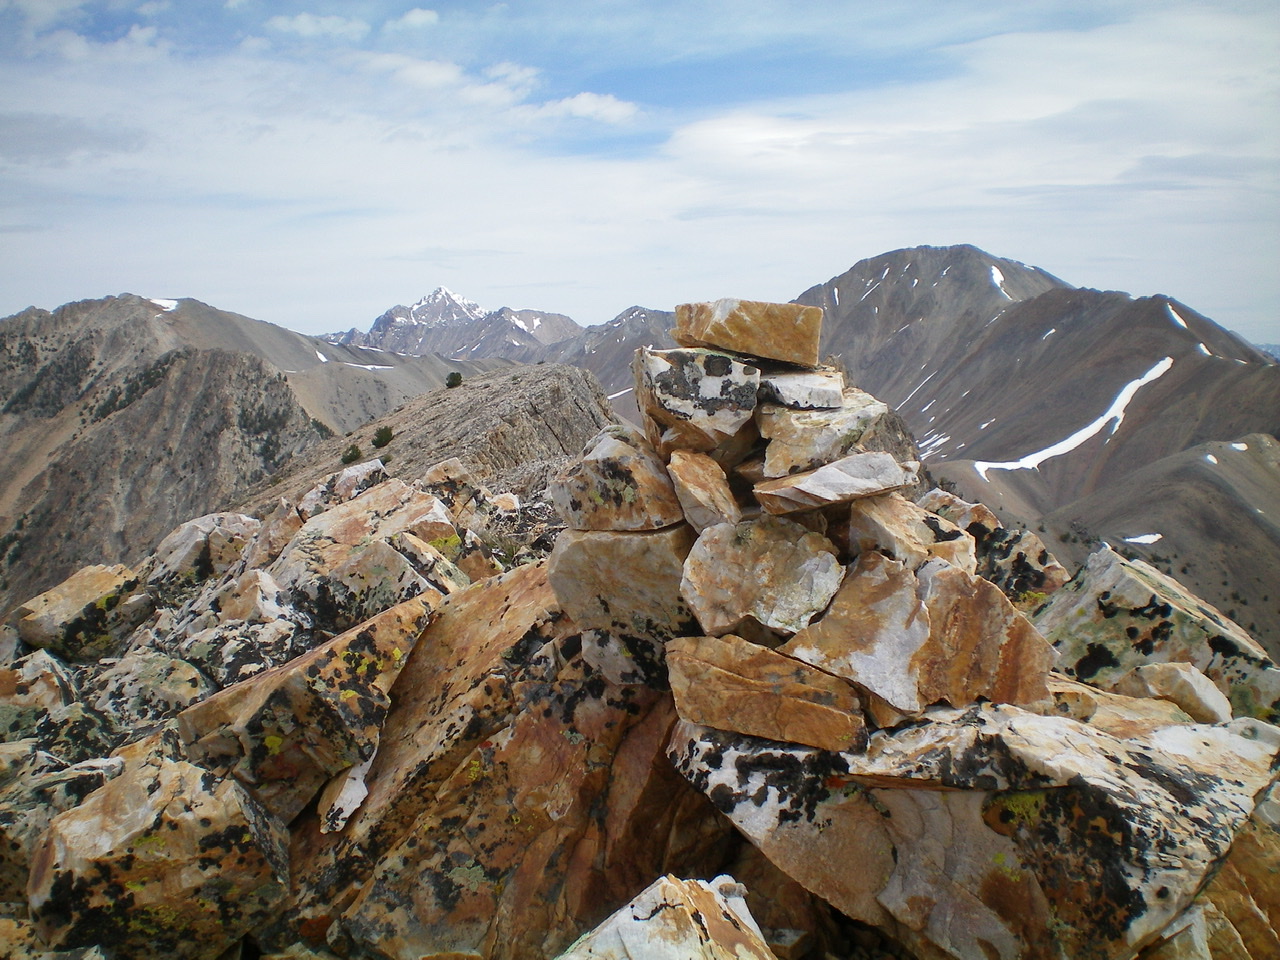
The summit as viewed from the peak’s [lower] north summit.
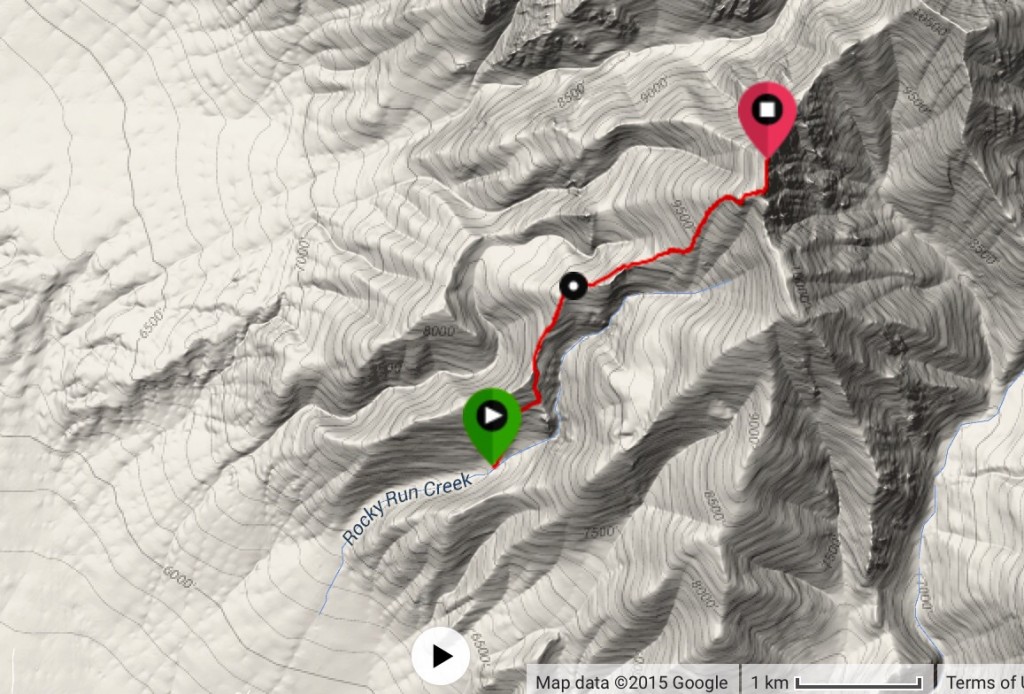
Dan’s GPS track from the parking spot to the summit.
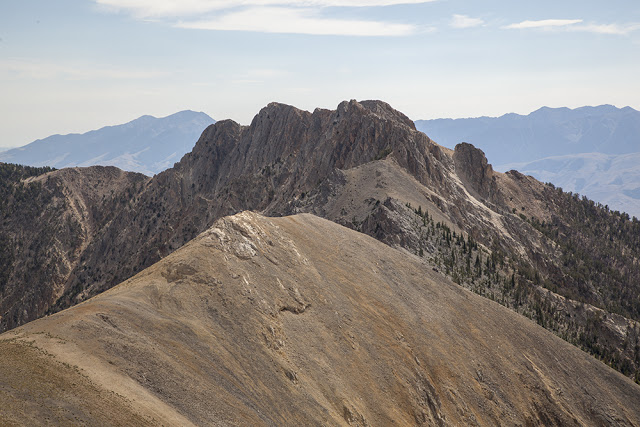
Sunny Bar Peak. Larry Prescott Photo
Northeast Ridge and South Ridge/East Spur Routes by Livingston Douglas
Northeast Ridge, Class 3+
Access
Same as for the FULL south ridge on Swanson Peak. This route is the final leg of a ridge traverse from Swanson Peak to Sunny Bar Peak.
The Climb
The northeast ridge of Sunny Bar Peak is a rugged, narrow ridge with exposure and multiple Class 5 towers. It should not be taken lightly. From the 10,060-foot connecting saddle, almost immediately you must skirt past one or two rocky ridge towers (not shown on the map) by dropping 50-60 vertical feet onto the right/northeast side of the ridge. Surprisingly, in late June, there are lingering snowfields in the gullies on the west-facing side of the ridge. The steep snow makes the ridge diversion more problematic. After passing the towers, scramble back up onto the ridge crest at an easy gravel section.
The steep gullies and aretes on the side of the narrow ridge crest are so awful that it is best to stay on the ridge crest proper and work the towers one by one. You will get up to about 10,450 feet, only 60 vertical feet below the summit, but the summit is still a long way off. Keep working the ridge towers until you reach an impasse at an impossible gap in the ridge. Down-climb 135 vertical feet on the right/west side of the ridge. Work your way across a few gullies to find a solid quartzite arete with bomber holds.
Return close to the ridge but beware of loose quartzite scree and unreliable holds on other aretes here. Skirt below the final large tower/block and scramble up a scree/gravel chute to a minor saddle. This puts you on the gentle, but rocky, summit plateau. According to the USGS topo map, the true (measured) summit of Sunny Bar Peak is at the north end of the summit area. You will find two rocky ridge points of equal height here but no summit cairn or any signs of previous ascent.
Follow the ridge crest south about 0.2 miles to the [larger] south summit area. You must drop about 60 vertical feet to a minor saddle on your way to the south summit. The south summit had a torn-down cairn so I rebuilt it atop a quartzite boulder. Altimeter measurements show that the south summit measures 5 feet higher than the [measured] north summit but that’s just too close to call. Stand atop both potential summits just to be sure. The ridge traverse between them is not difficult.
The summit ridge area of Sunny Bar Peak, looking north-northeast from the south summit. Livingston Douglas Photo
The newly-built summit cairn atop the south summit of Sunny Bar Peak, looking north. Livingston Douglas Photo
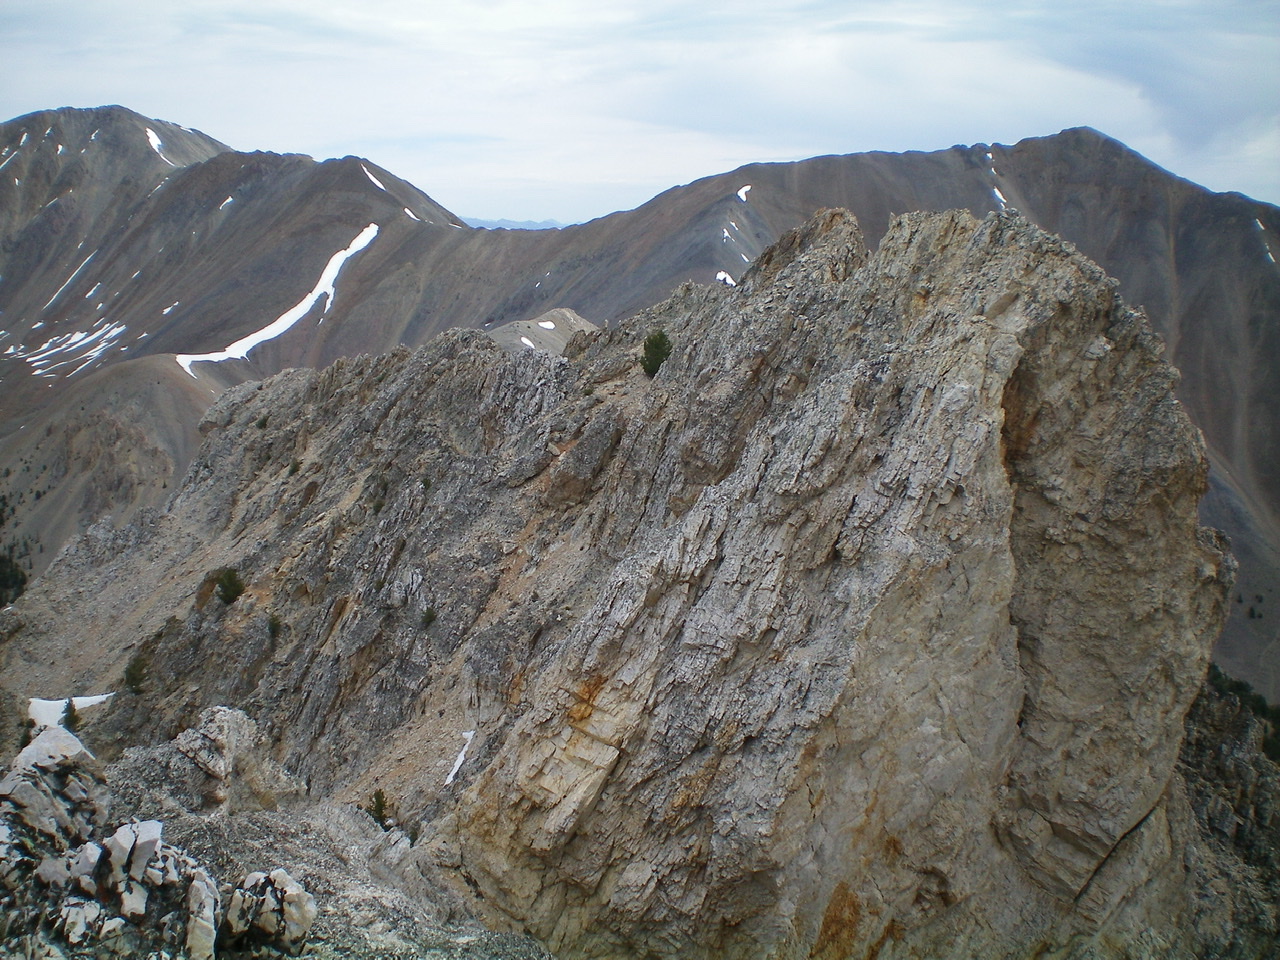
The profile of the rugged north ridge of Sunny Bar Peak, as viewed from the south ridge of Swanson Peak. Livingston Douglas Photo
The rugged upper section of the north ridge as viewed from the north summit. Livingston Douglas Photo
The rugged, gapped north ridge (skyline in center) of Sunny Bar Peak as viewed from the south ridge. Livingston Douglas Photo
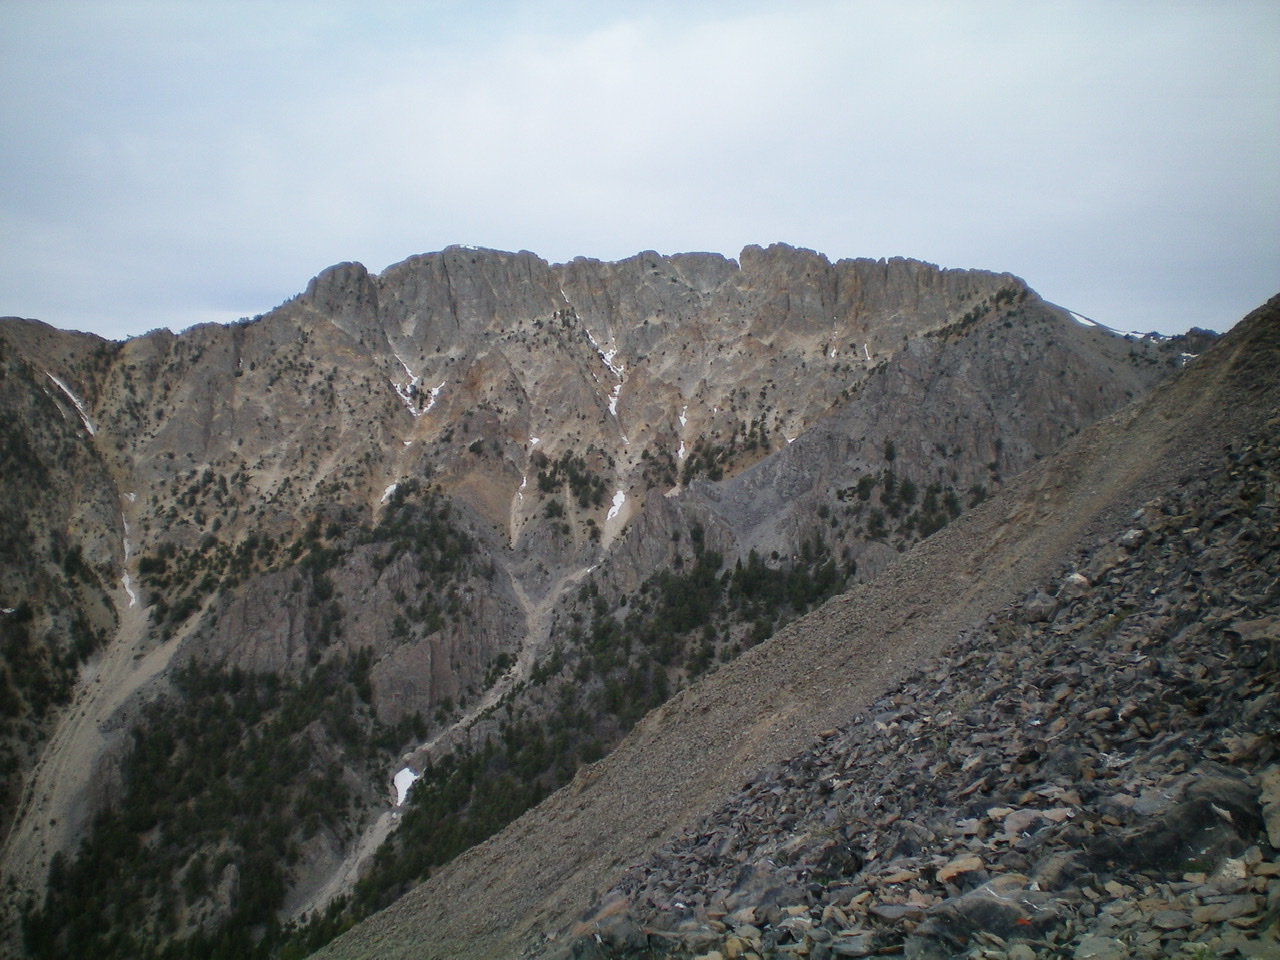
The Class 3 rocky, upper section of the south ridge of Sunny Bar Peak, as viewed from a flat section of the south ridge. Livingston Douglas Photo
South Ridge/East Spur, Class 3
Access
Same as for the northeast ridge. This is the final leg of a loop route that begins and ends at the mouth of Uncle Ike Canyon.
The Descent
From the summit, the upper part of the south ridge looks rocky and rough, and it is. This is not Class 2 terrain. Work your way down through rocky outcrops and a few ridge humps. Down-climb Class 3 chutes and ledges as necessary to make progress. This is a tedious endeavor. Once below the rocky upper section, the slope eases and lichen-covered quartzite boulders take over. It takes a half-hour of hard work just to reach Point 10179. Continue south on the ridge for a short distance past Point 10179 to find the top of a forested shoulder that heads left/east off the ridge to descend to the valley floor. The forest is thick here so it’s hard to find (and stay on) the correct shoulder. Worse yet, there are two parallel shoulders here, both heading downhill to the valley floor and Ike Creek.
I intended to descend the northern of these two shoulders and was initially on it, but ended up moving southeast (as the shoulder is supposed to angle) too early and ended up on the rougher, steeper, southern of the two shoulders. A prominent gully separates these two shoulders farther down the face. Well, I made this bed so I must lie in it. Follow the south shoulder southeast then east to reach the valley floor. The terrain is Class 3 in spots—steep boulder fields, rocky outcrops. Lower down, there is a section of easy pine forest. As you approach the valley floor, the shoulder/spur is clogged with mountain mahogany. You will be quite relieved to reach Uncle Ike Creek, jump across it, and reach the ATV road/trail. Follow FST-4341 back to the Challis National Forest boundary and your parked vehicle.
Additional Resources
Regions: EASTERN IDAHO->Lemhi Range
Mountain Range: Lemhi Range
Year Climbed: 2015
First Ascent Information:
- Other First Ascent: Northeast Ridge
- Year: 2019
- Season: Summer
- Party: Livingston Douglas
- Other First Ascent: South Ridge/East Spur —Descent
- Year: 2019
- Season: Summer
- Party: Livingston Douglas