Elevation: 11,100 ft
Prominence: 400

This peak is not in the book. Judi Steciak and Carl Hamke, Pat McGrane, George Reinier, Steve Grantham, Alex Feldman and Derek Percoski contributed route information, text and photos to this page. Also see Judi and Carl’s article on the Missing Eleveners in the Climbing History section of this site. Updated August 2020
True Grit is located on the South End of the treacherous Mount Corruption/Mount Breitenbach Divide (see Pages 280-283). True Grit, along with Triple Peak and Cleft Peak, form a rugged cluster of rotten towers that see few ascents. True Grit is the most technically challenging of Idaho’s Eleveners and the only 11er without a nontechnical route to its summit. The name True Grit was bestowed on the peak by its first ascenders: George Reinier, Johnny Roache, and Pat McGrane who climbed it on July 9, 2011. Judi Steciak and Carl Hamke made the second ascent. I climbed the peak in 2020 with Daniel Todd, Derek Percoski, Haylee Stocking, April Watts and Brett Sergenian. There are fewer than 20 recorded ascents. USGS Leatherman Peak
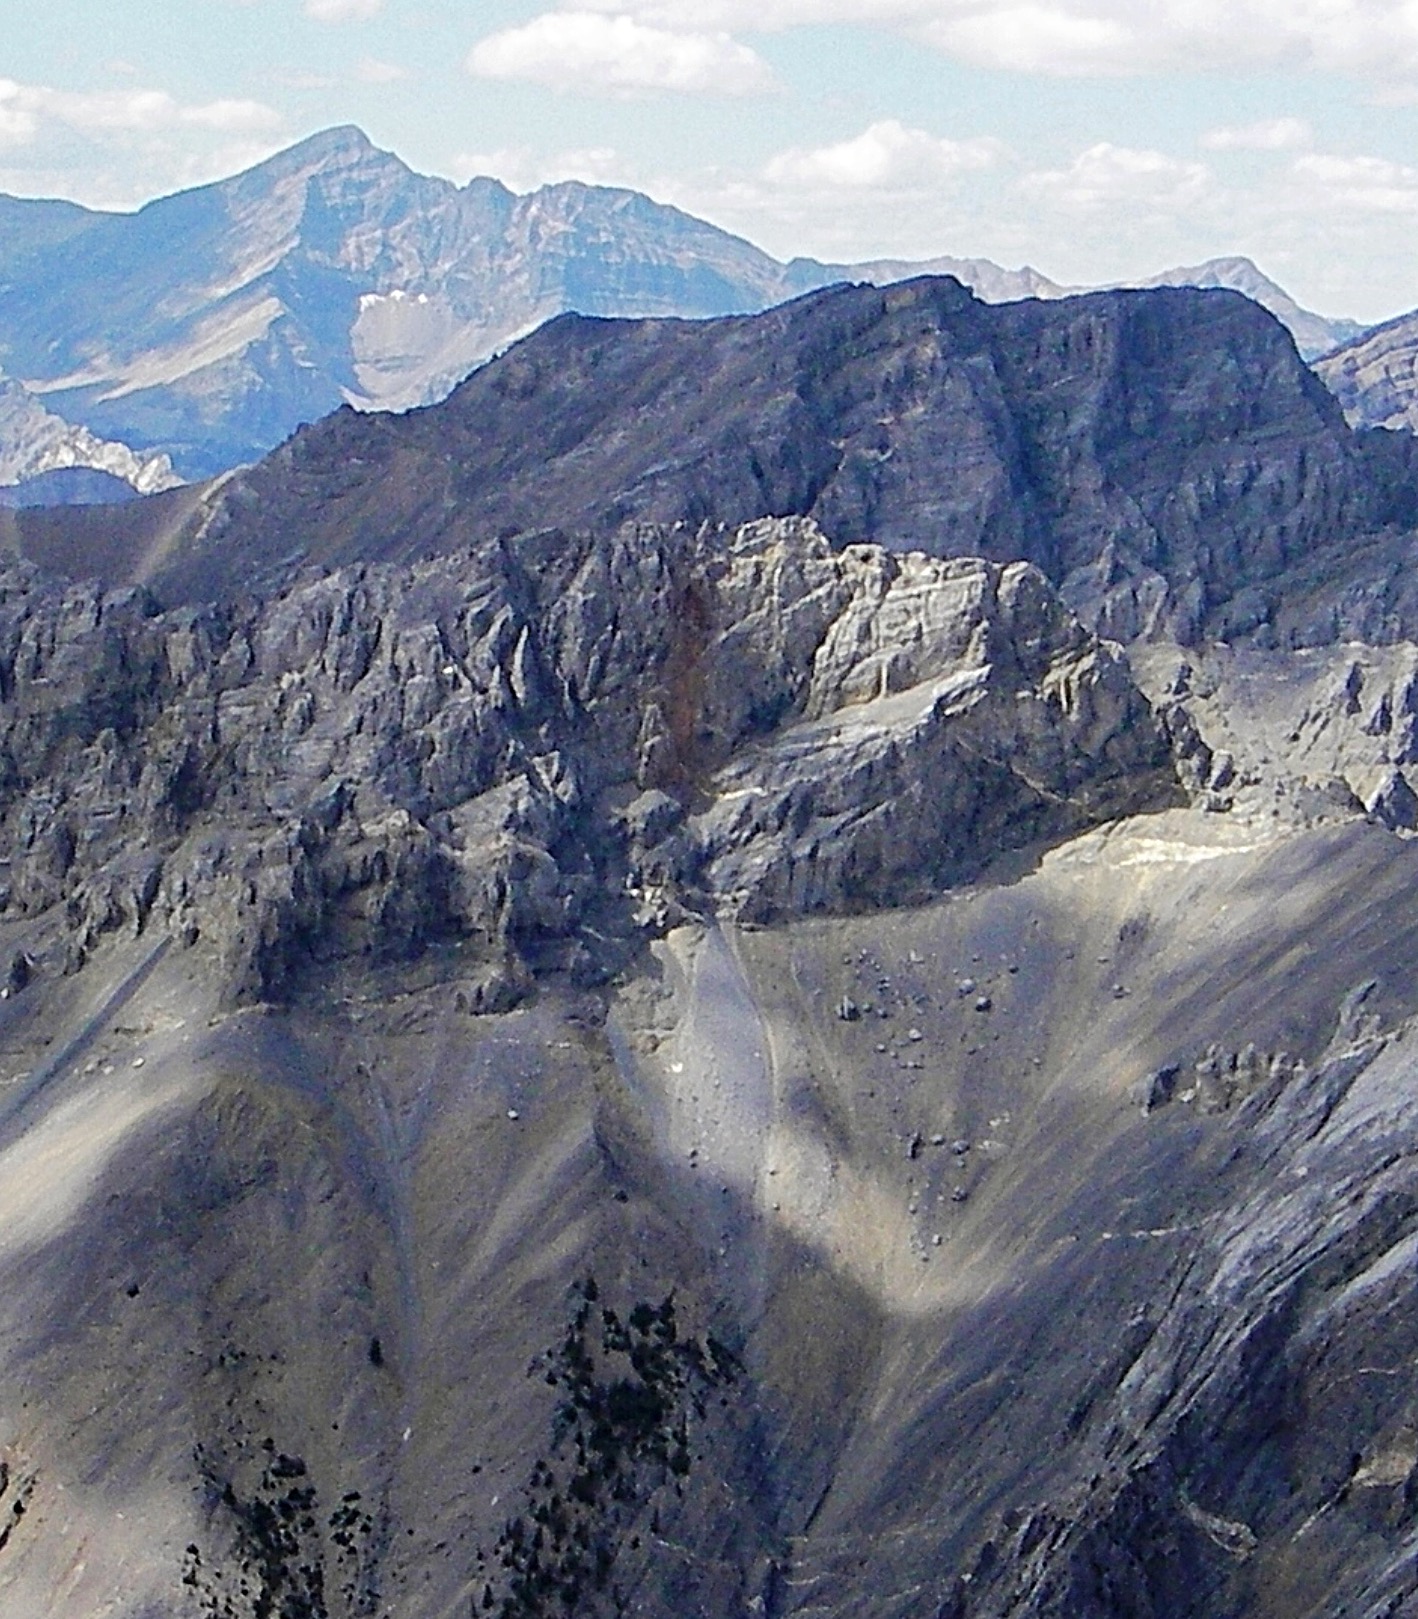
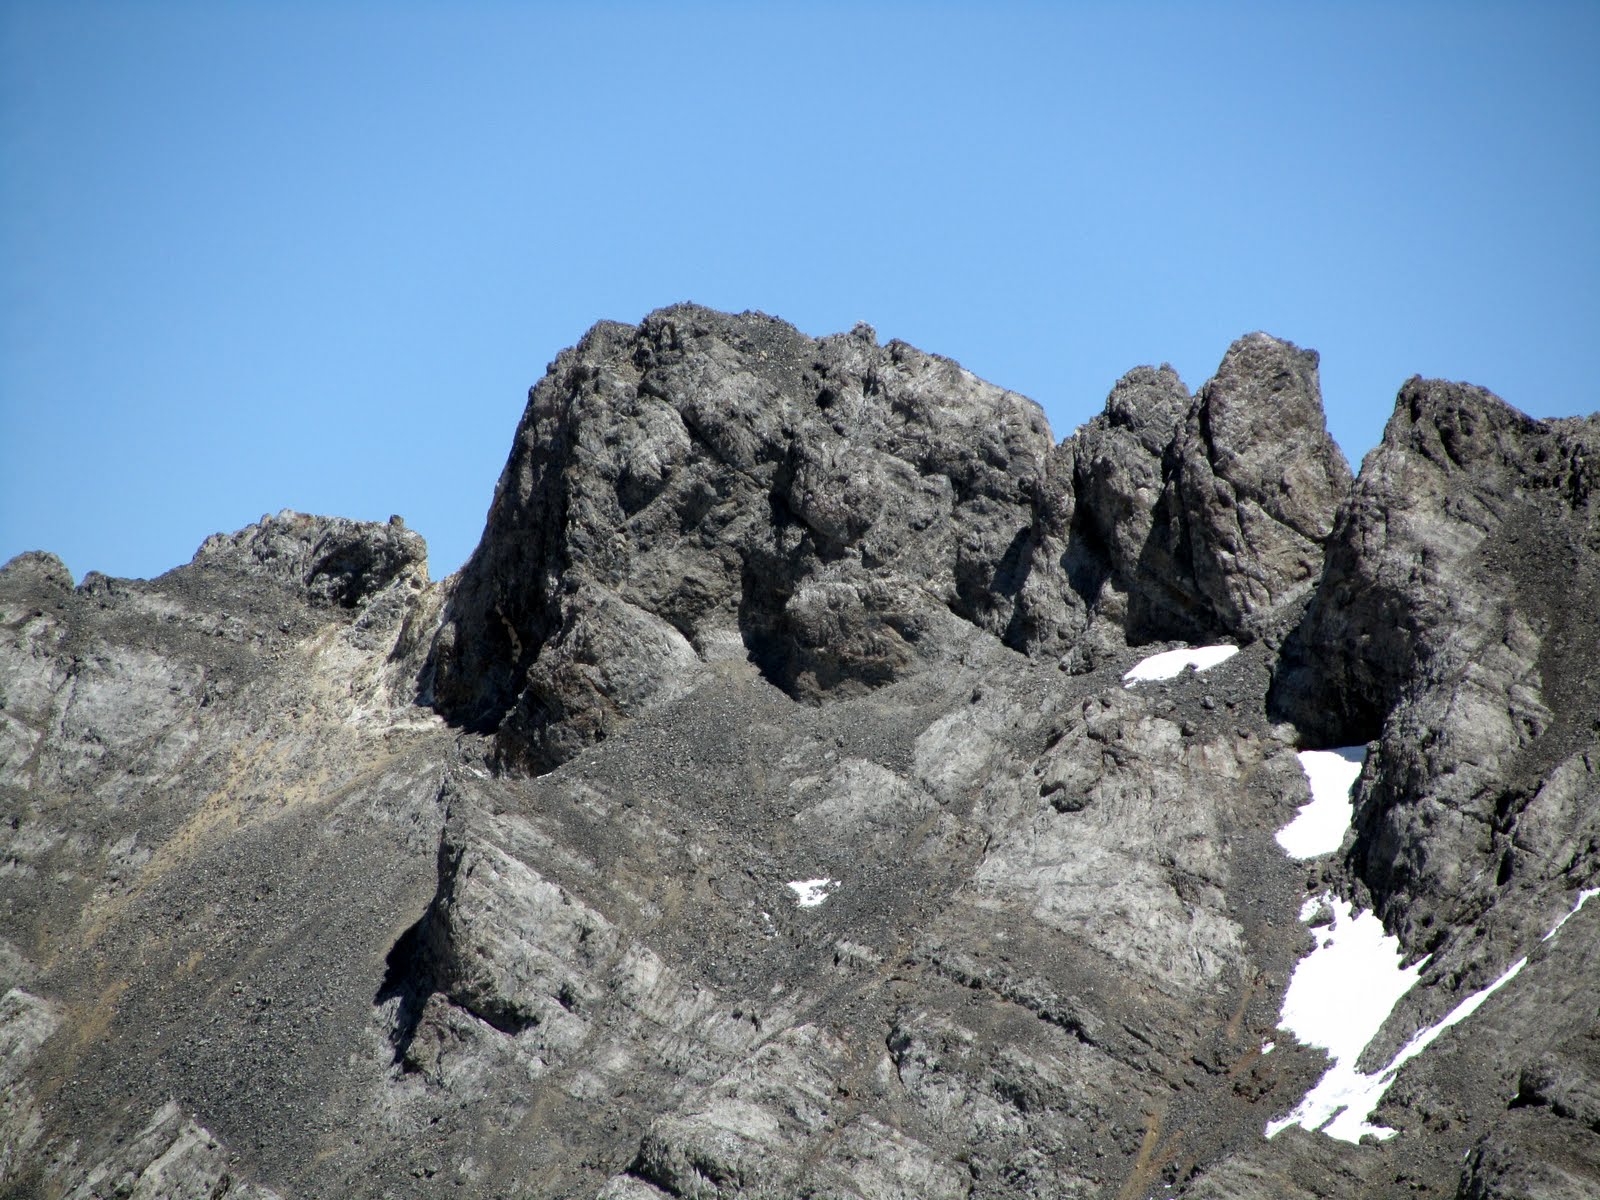
Looking NW from Ferguson Peak, the summit of True Grit is touched by the sun in the foreground. Cleft Peak rises in the mid-ground with Borah Peak in the distance. Judi Steciak Photo
Northwest Face, Class 5.3-5.4
Access
Primary access is via FST-240, Dry Creek Trail [(A)(6.1)(a) on Page 290]. The trailhead is reached via FS-119. This 4WD road drops off a high bench into the upper Dry Creek drainage by descending a steep, loose talus slope. Once the road reaches the bottom of this slope it quickly fords Long Lost Creek and then reaches a junction with FS-434/Long Lost Creek Road. Keep right. The road next fords Dry Creek, which usually is too deep to drive through until mid-July. On the west side of the creek the road continues southwest to a fence line and its end at roughly 7,600 feet.
FST-240 has not been maintained for years. Motor vehicles are no longer permitted past the trailhead. In the past, ATVs have driven up the valley creating a walkable tread for roughly two miles. At this point, the ATV trail descends down to Dry Creek and the old foot tread veers off to the right and continues up the valley. Continue on the trail up Dry Creek until you reach the opening of the canyon that leads up into the cirque between The Cleft and True Grit at roughly the 8,200-foot contour [See the map below]. Brush is encroaching on the trail but it is still easy to follow for the most part.
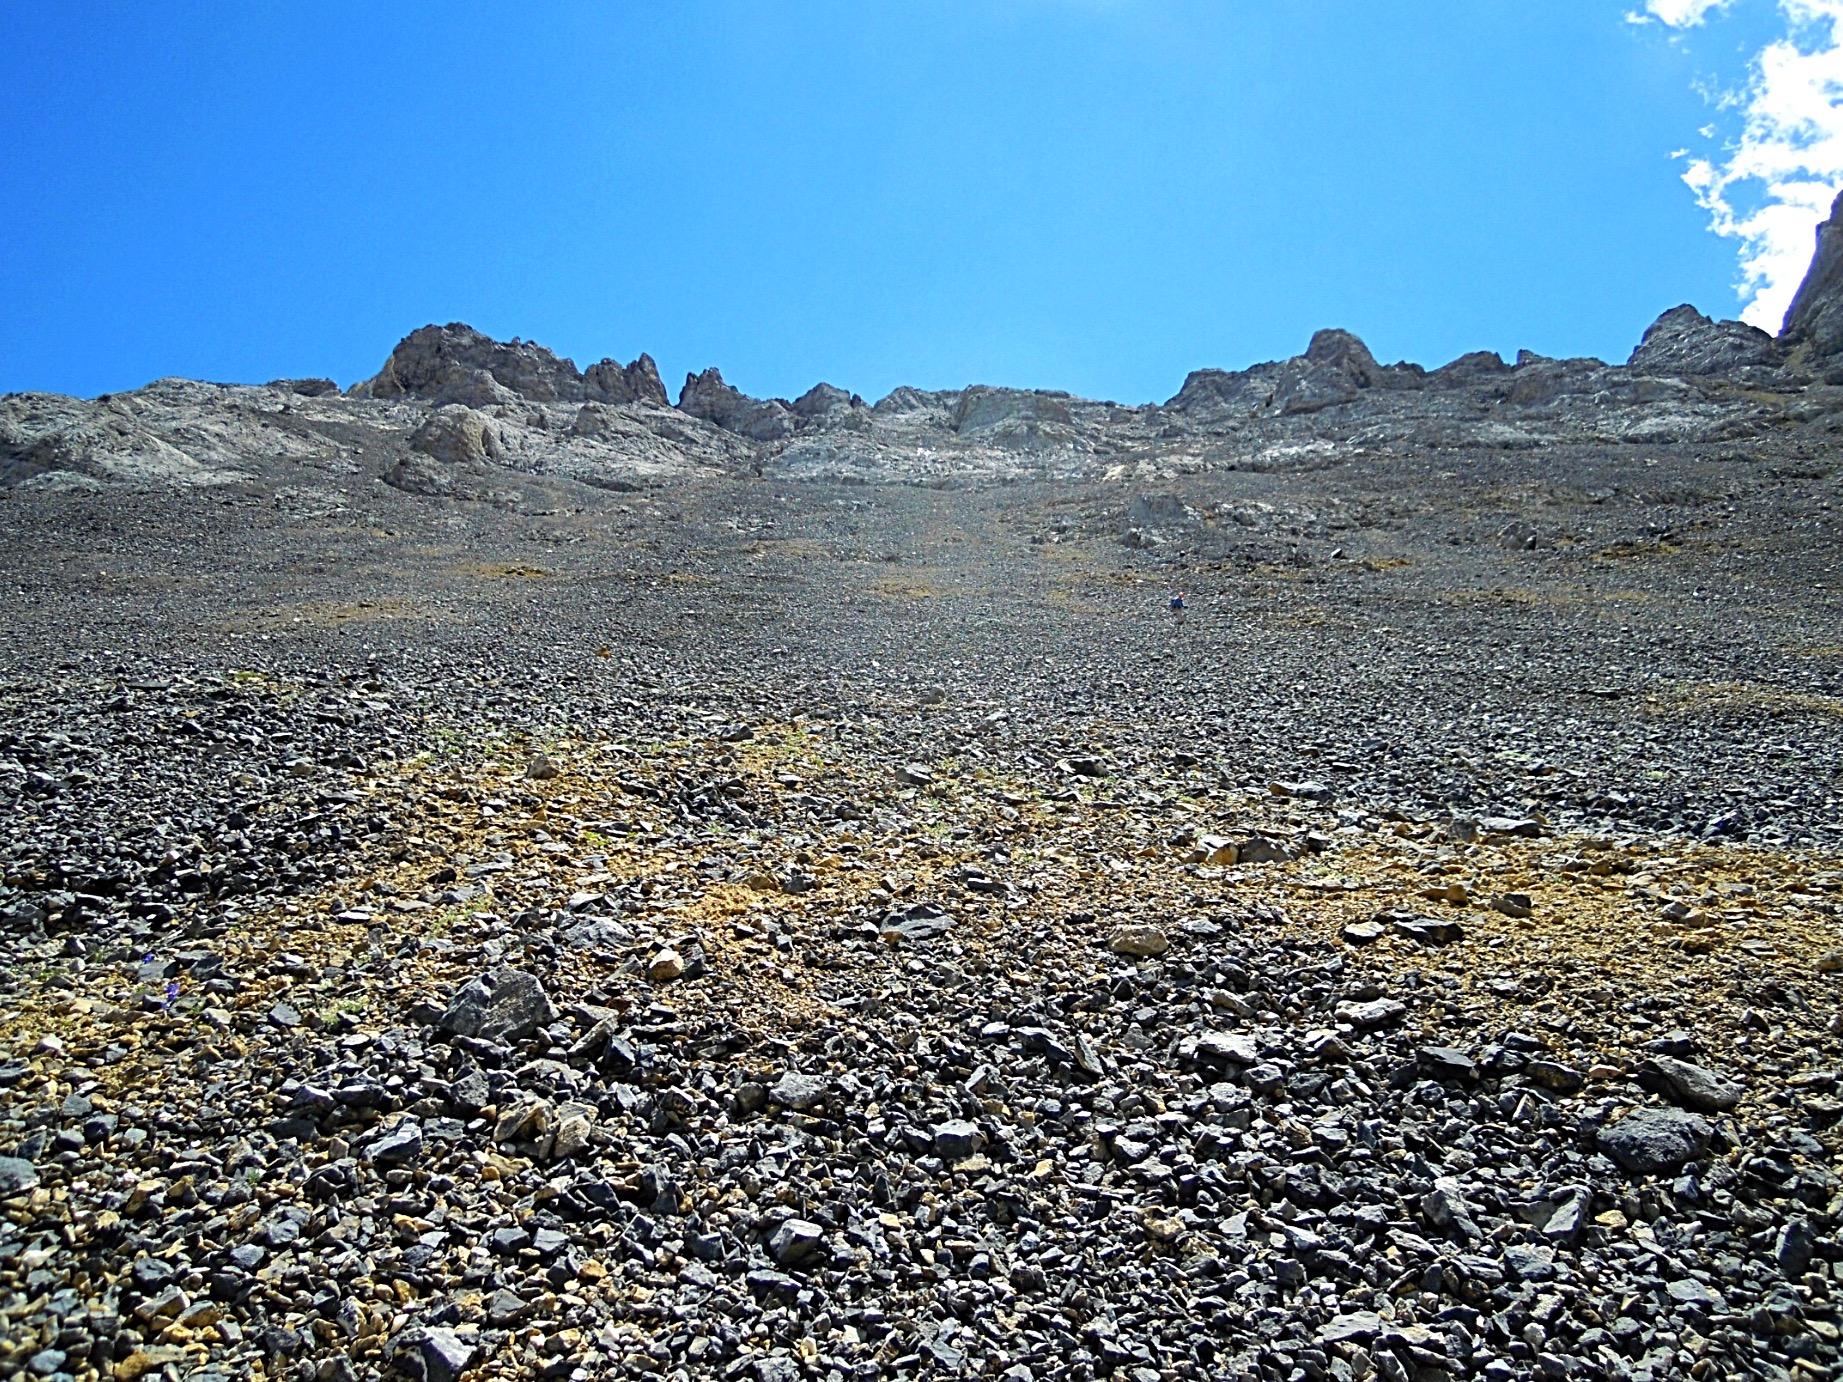
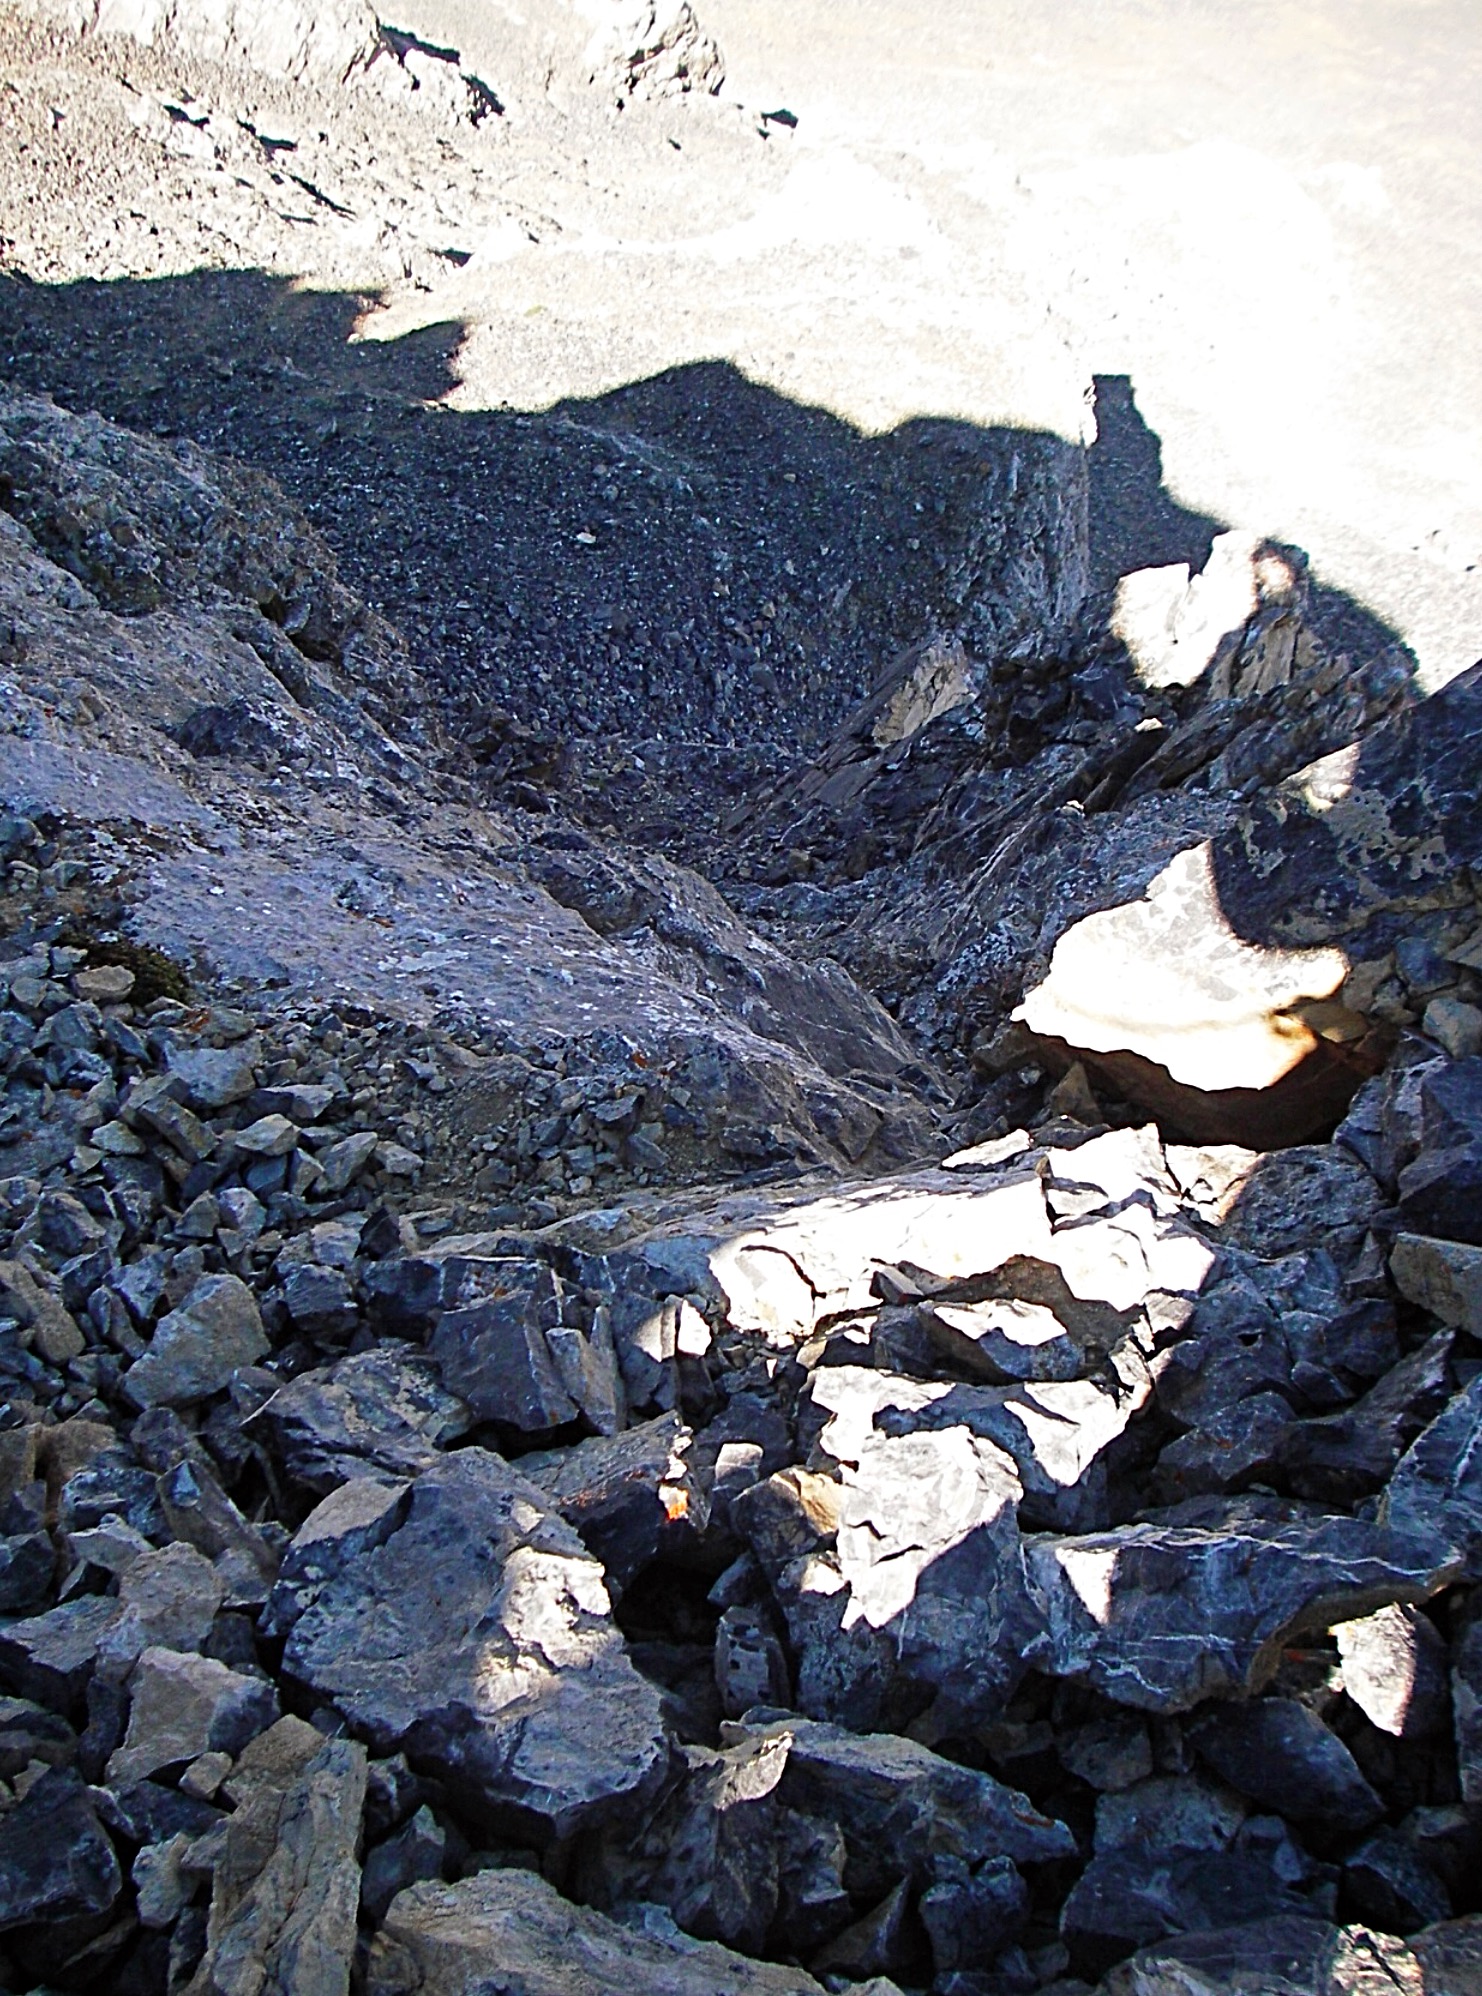
The side canyon can be ascended by following the dry stream bottom with occasional detours onto the bench on its south side. At 9,400 feet, there is a headwall which can be bypassed on either side of an impressive dry waterfall. Above this headwall, the route becomes an exercise in crossing nearly endless talus. Keep heading up until you reach the base of the northwest face at 10,000 feet. From this point, the route climbs up to base of the northwest face’s summit block across steep, loose talus. At the top of the talus, thread up through rubble-covered slabs to the base of the 100-foot tall summit block at the northeast end of the ridge.
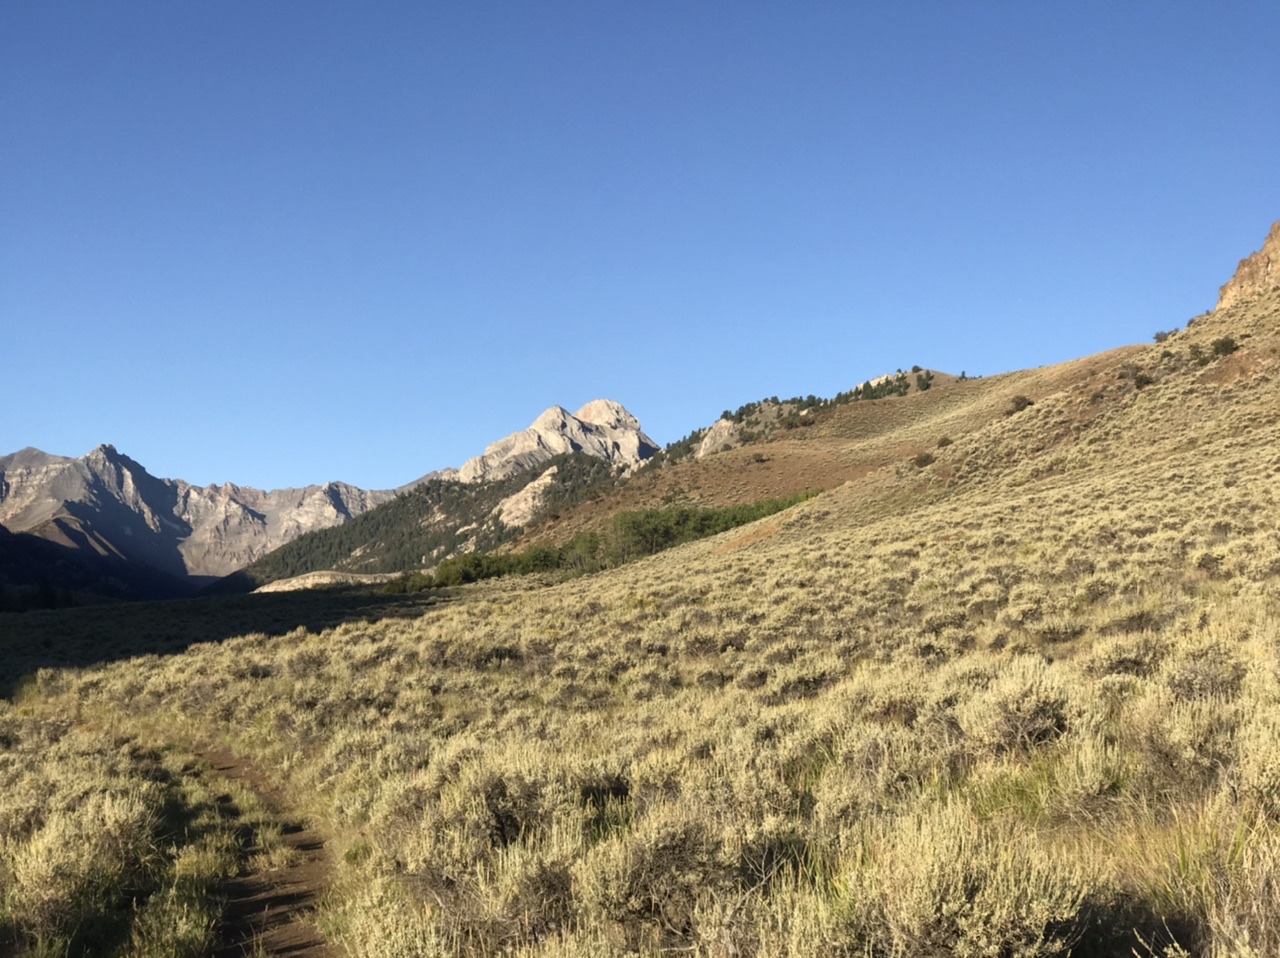
True Grit as viewed from the beginning of the hike.
True Grit (left) and The Cleft (right).
The beginning of the canyon is forested. Derek Percoski Photo

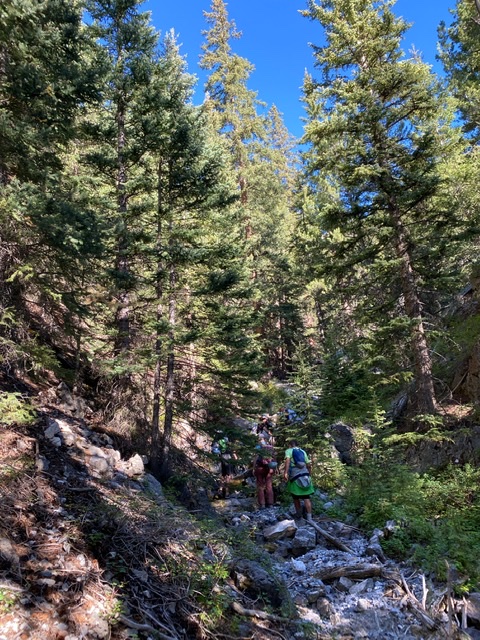
The route climbing up through the lower canyon. George Reinier Photo

The higher you climb up the canyon, the more open the terrain. Derek Percoski Photo
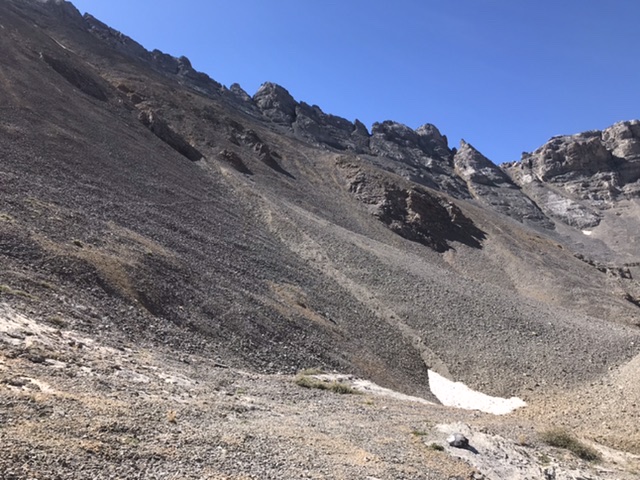
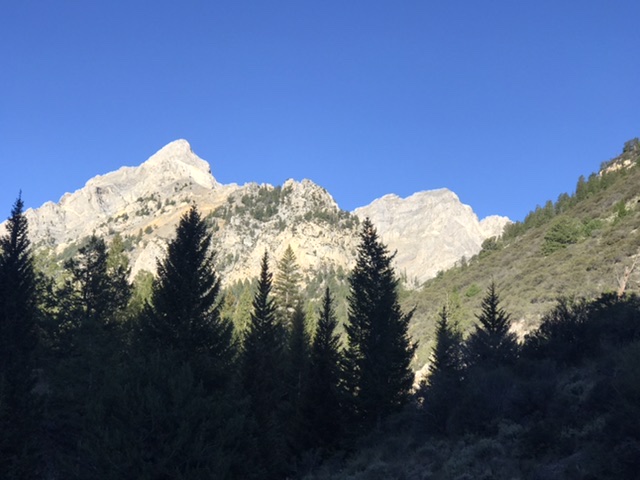
The northwest face as viewed from 10,000 feet.
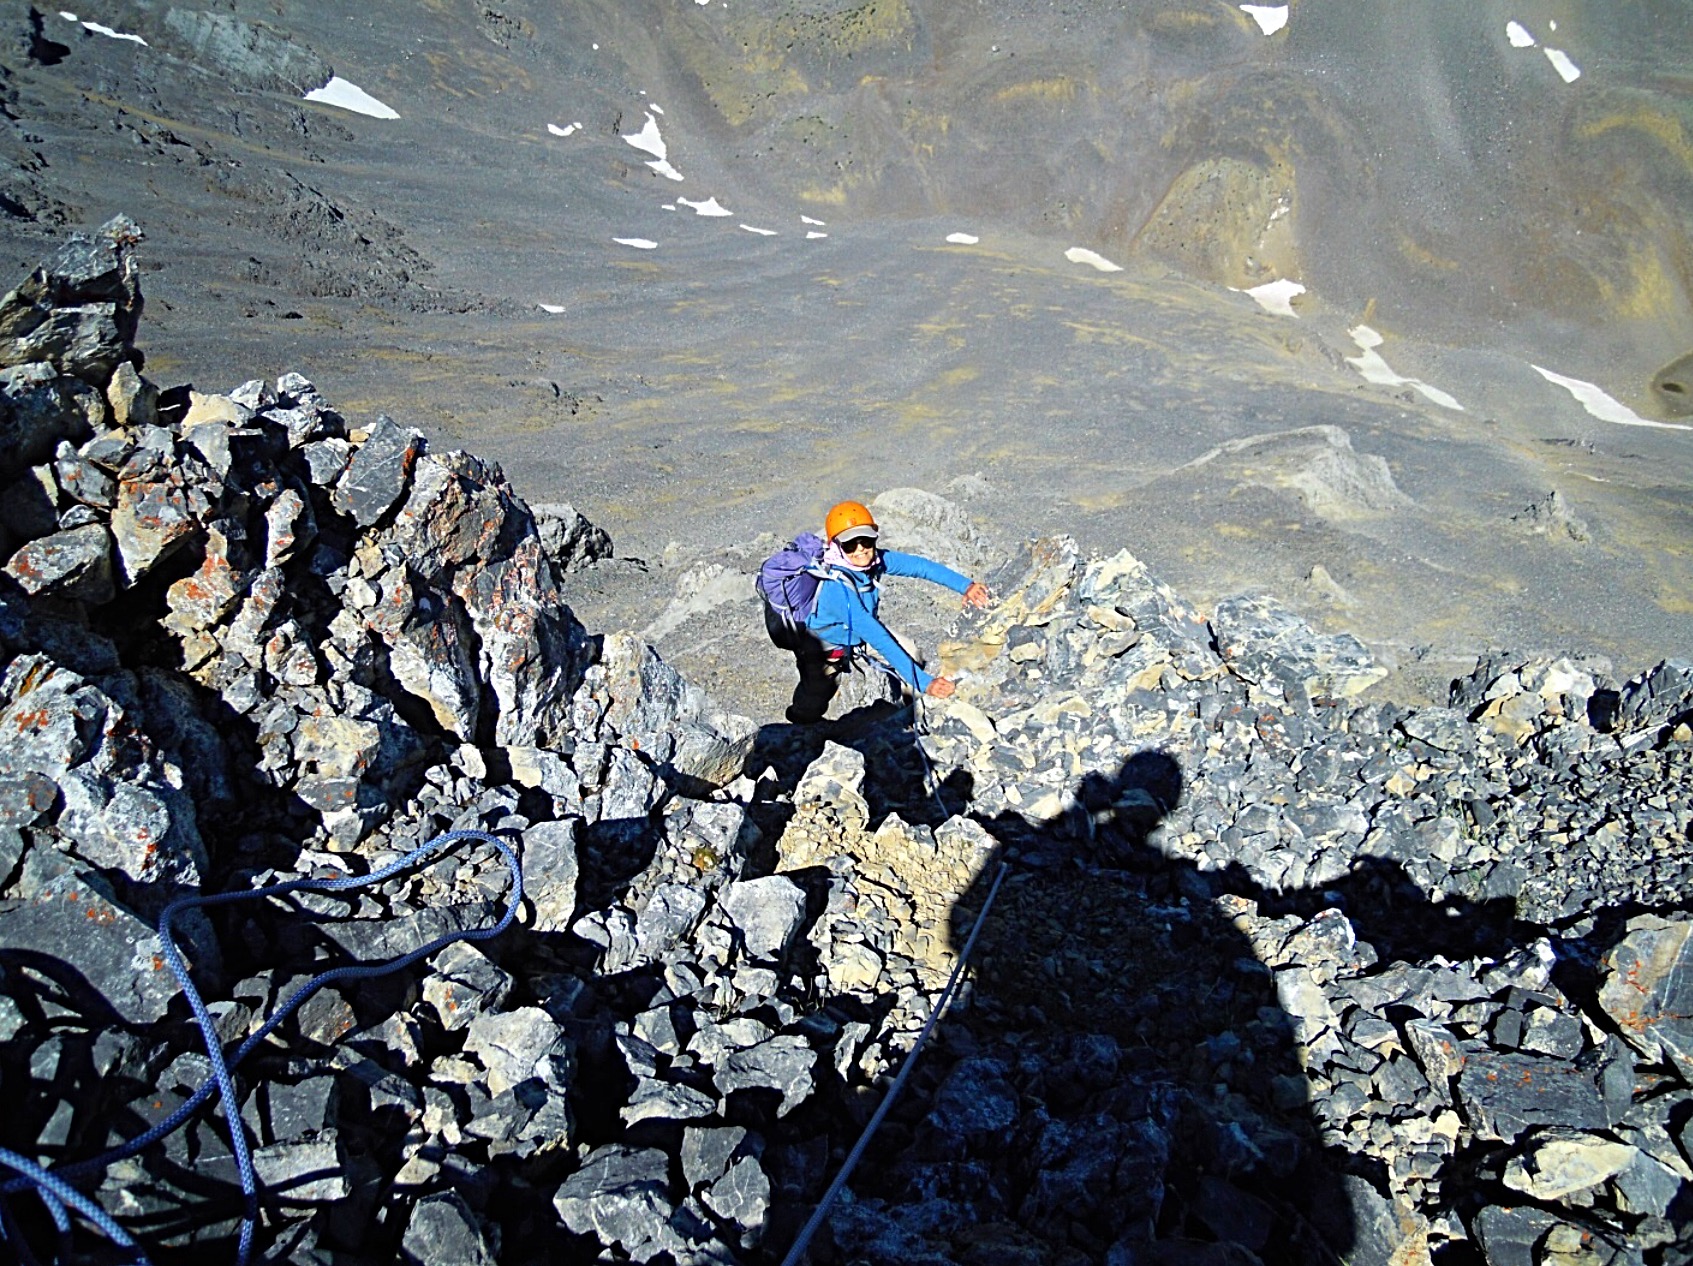
Partway up the scree slope. The summit is on the left. Judi Steciak Photo
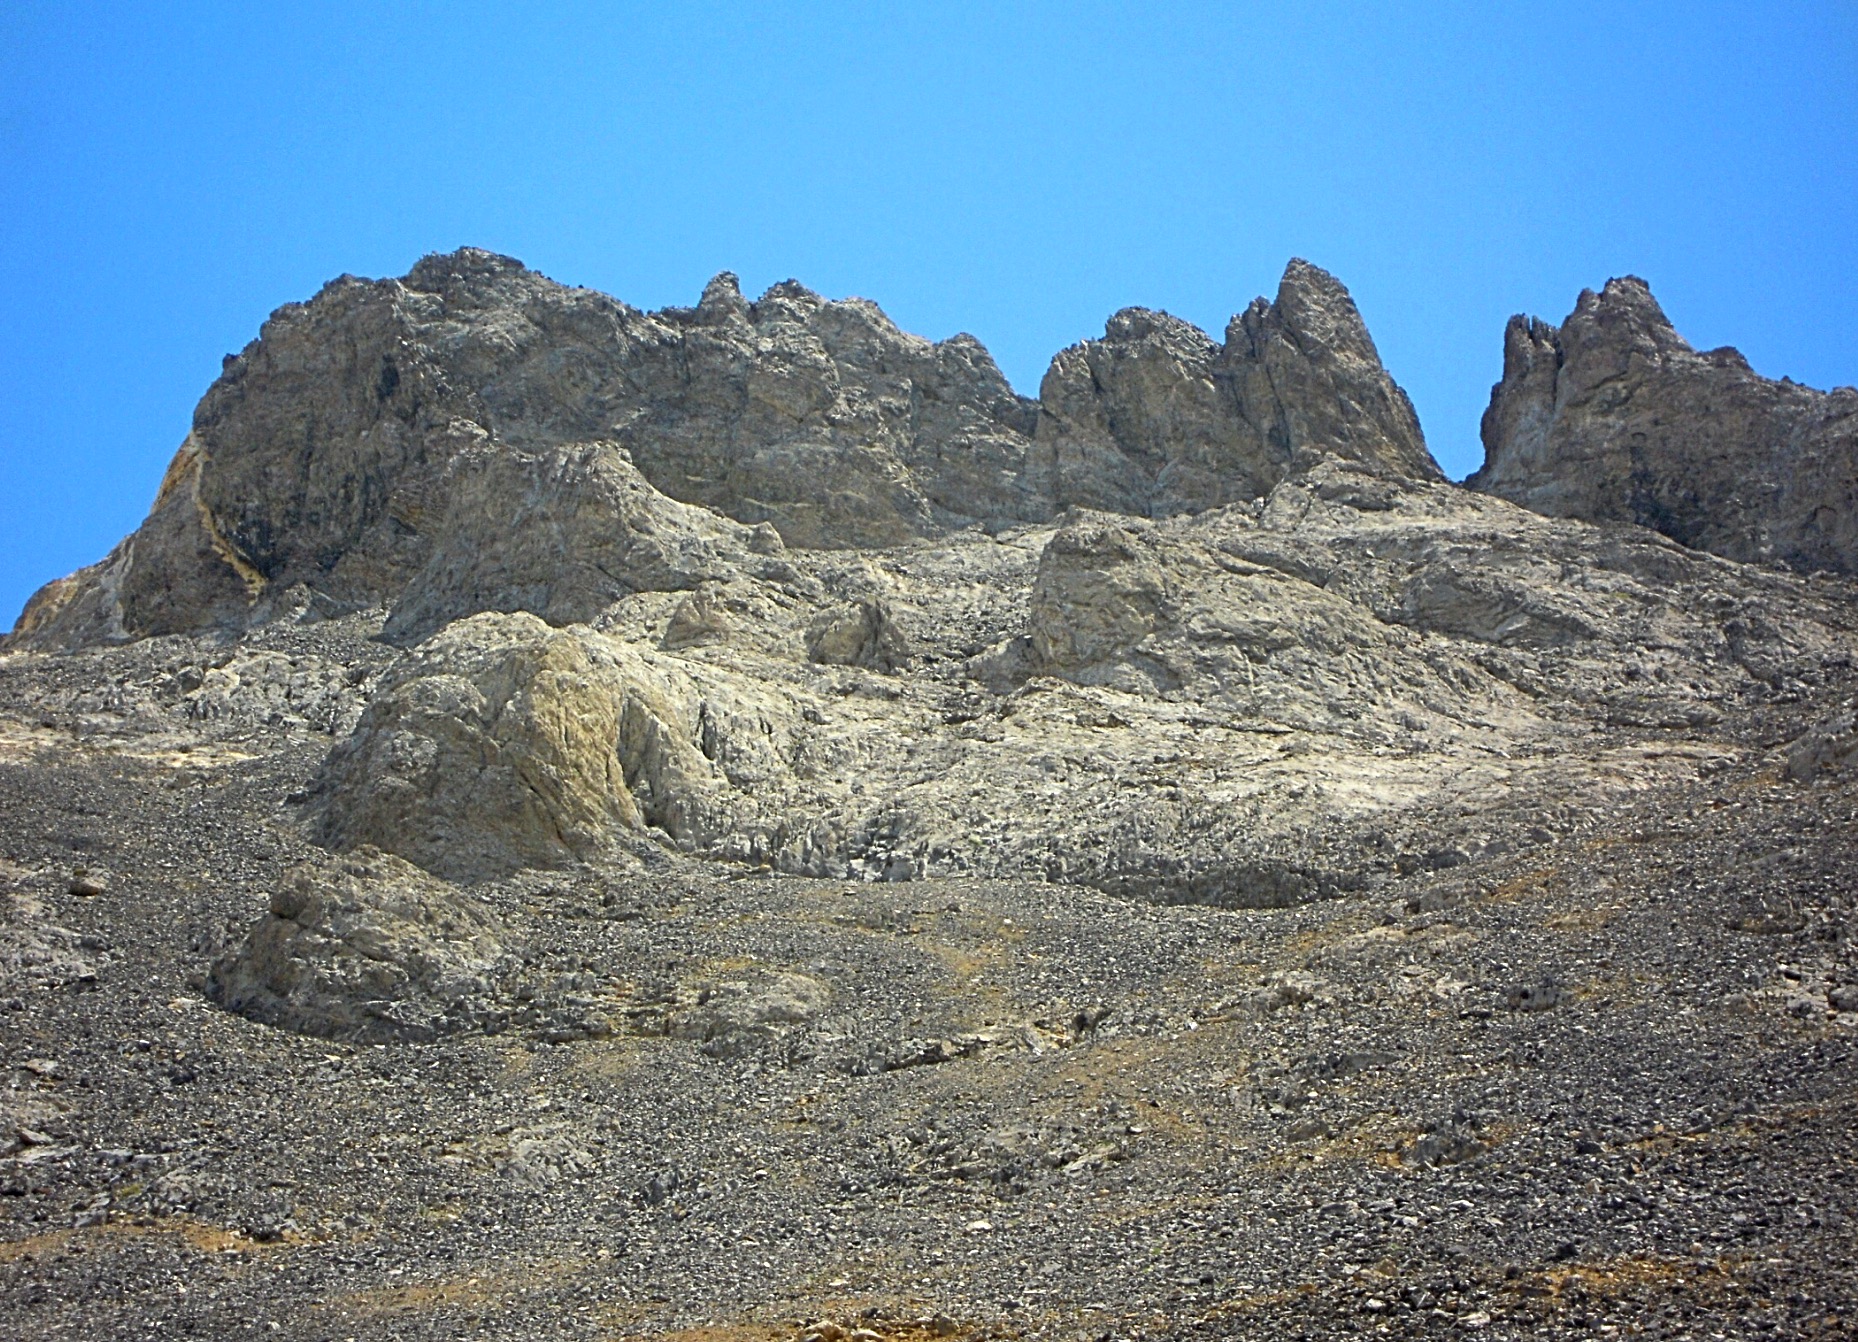
The summit block eventually comes into view. Judi Steciak Photo
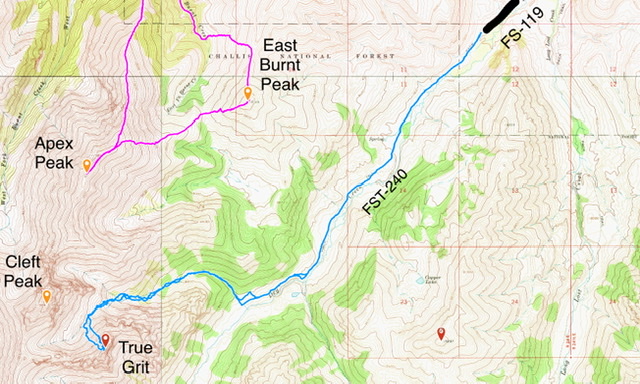
The approach. Several GPS recordings on my visit to the summit showed the round-trip distance varying between 12 and 14 miles. The elevation gain is 3,400 feet.
McGrane, Reinier, Roache Route
[While the technical rating of this route is only YDS 5.3-5.4, the fractured condition of the rock makes the climb a much more hazardous undertaking than the rating infers.]
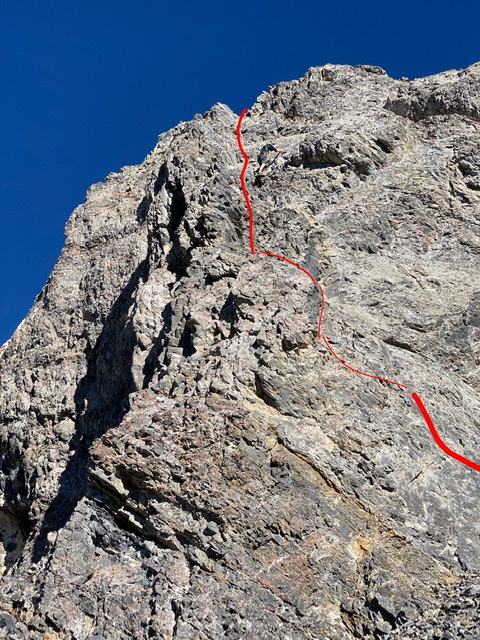
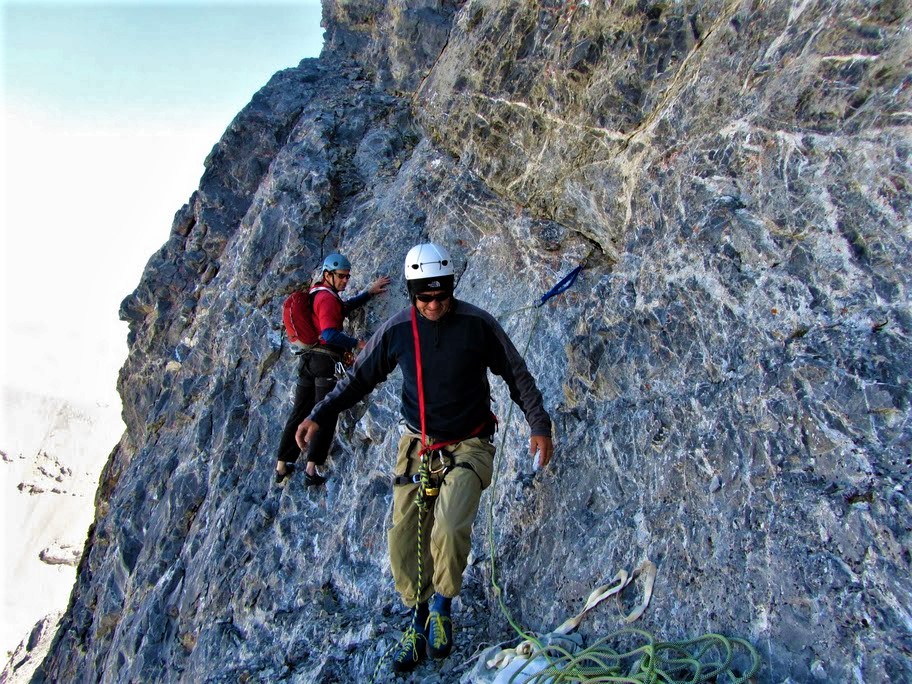
The route up the summit block, as shown in the photo below, begins on the right side of a whitish-colored wall. The route traverses across this wall which is the technical crux of the climb up the summit block. The holds across the wall are plentiful but small. There is only one small pocket on the right side of the wall for a cam placement which can be used to set up a belay station. However, a horizontal crack runs across the top of the wall which can also be used for additional protection placement.
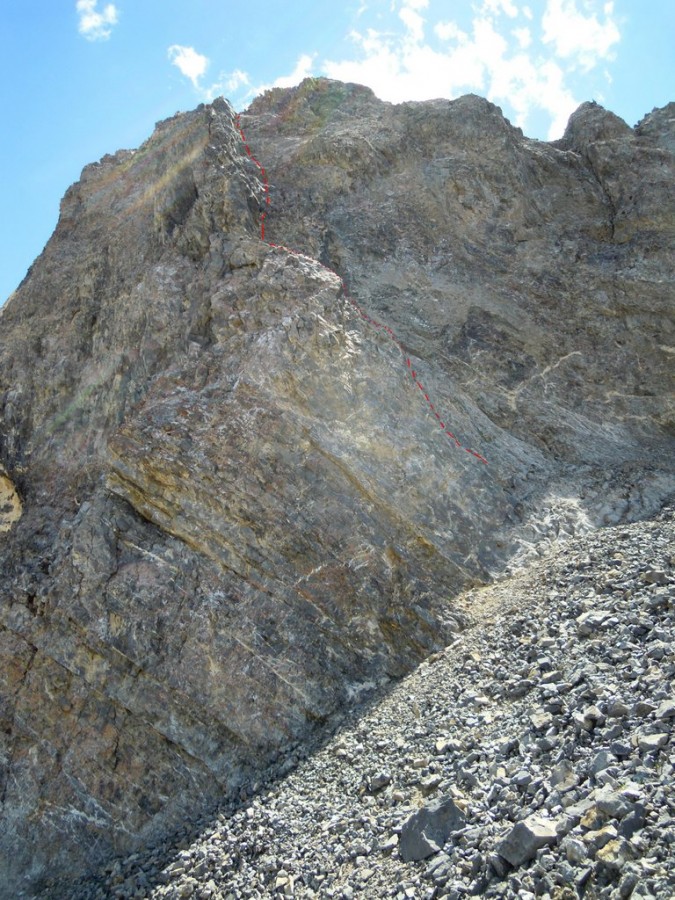
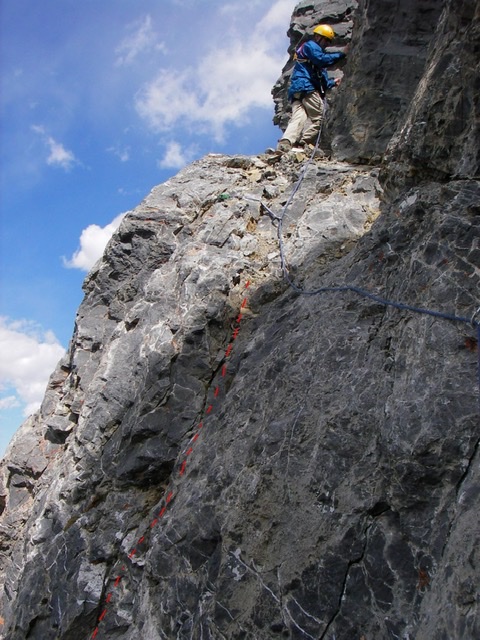
The Class 5 route to the summit of True Grit. Judi Steciak Photo.
Traverse left across the whitish wall to a very shallow, open book-like indentation. Climb this feature ten feet up to a small, left-facing, steep, slanting ledge. Continue left up this ledge to the base of a right-facing open book. Climb up the open book which flattens out into a wall and steepens after 40 feet. The route finishes by climbing three short, rubble-encrusted headwalls to reach the top of the north ridge. The summit is a few easy steps to the right. The rock quality deteriorates as you ascend and many of the potential holds can easily pull out. Additionally, there is a lot of loose rock littering this line.
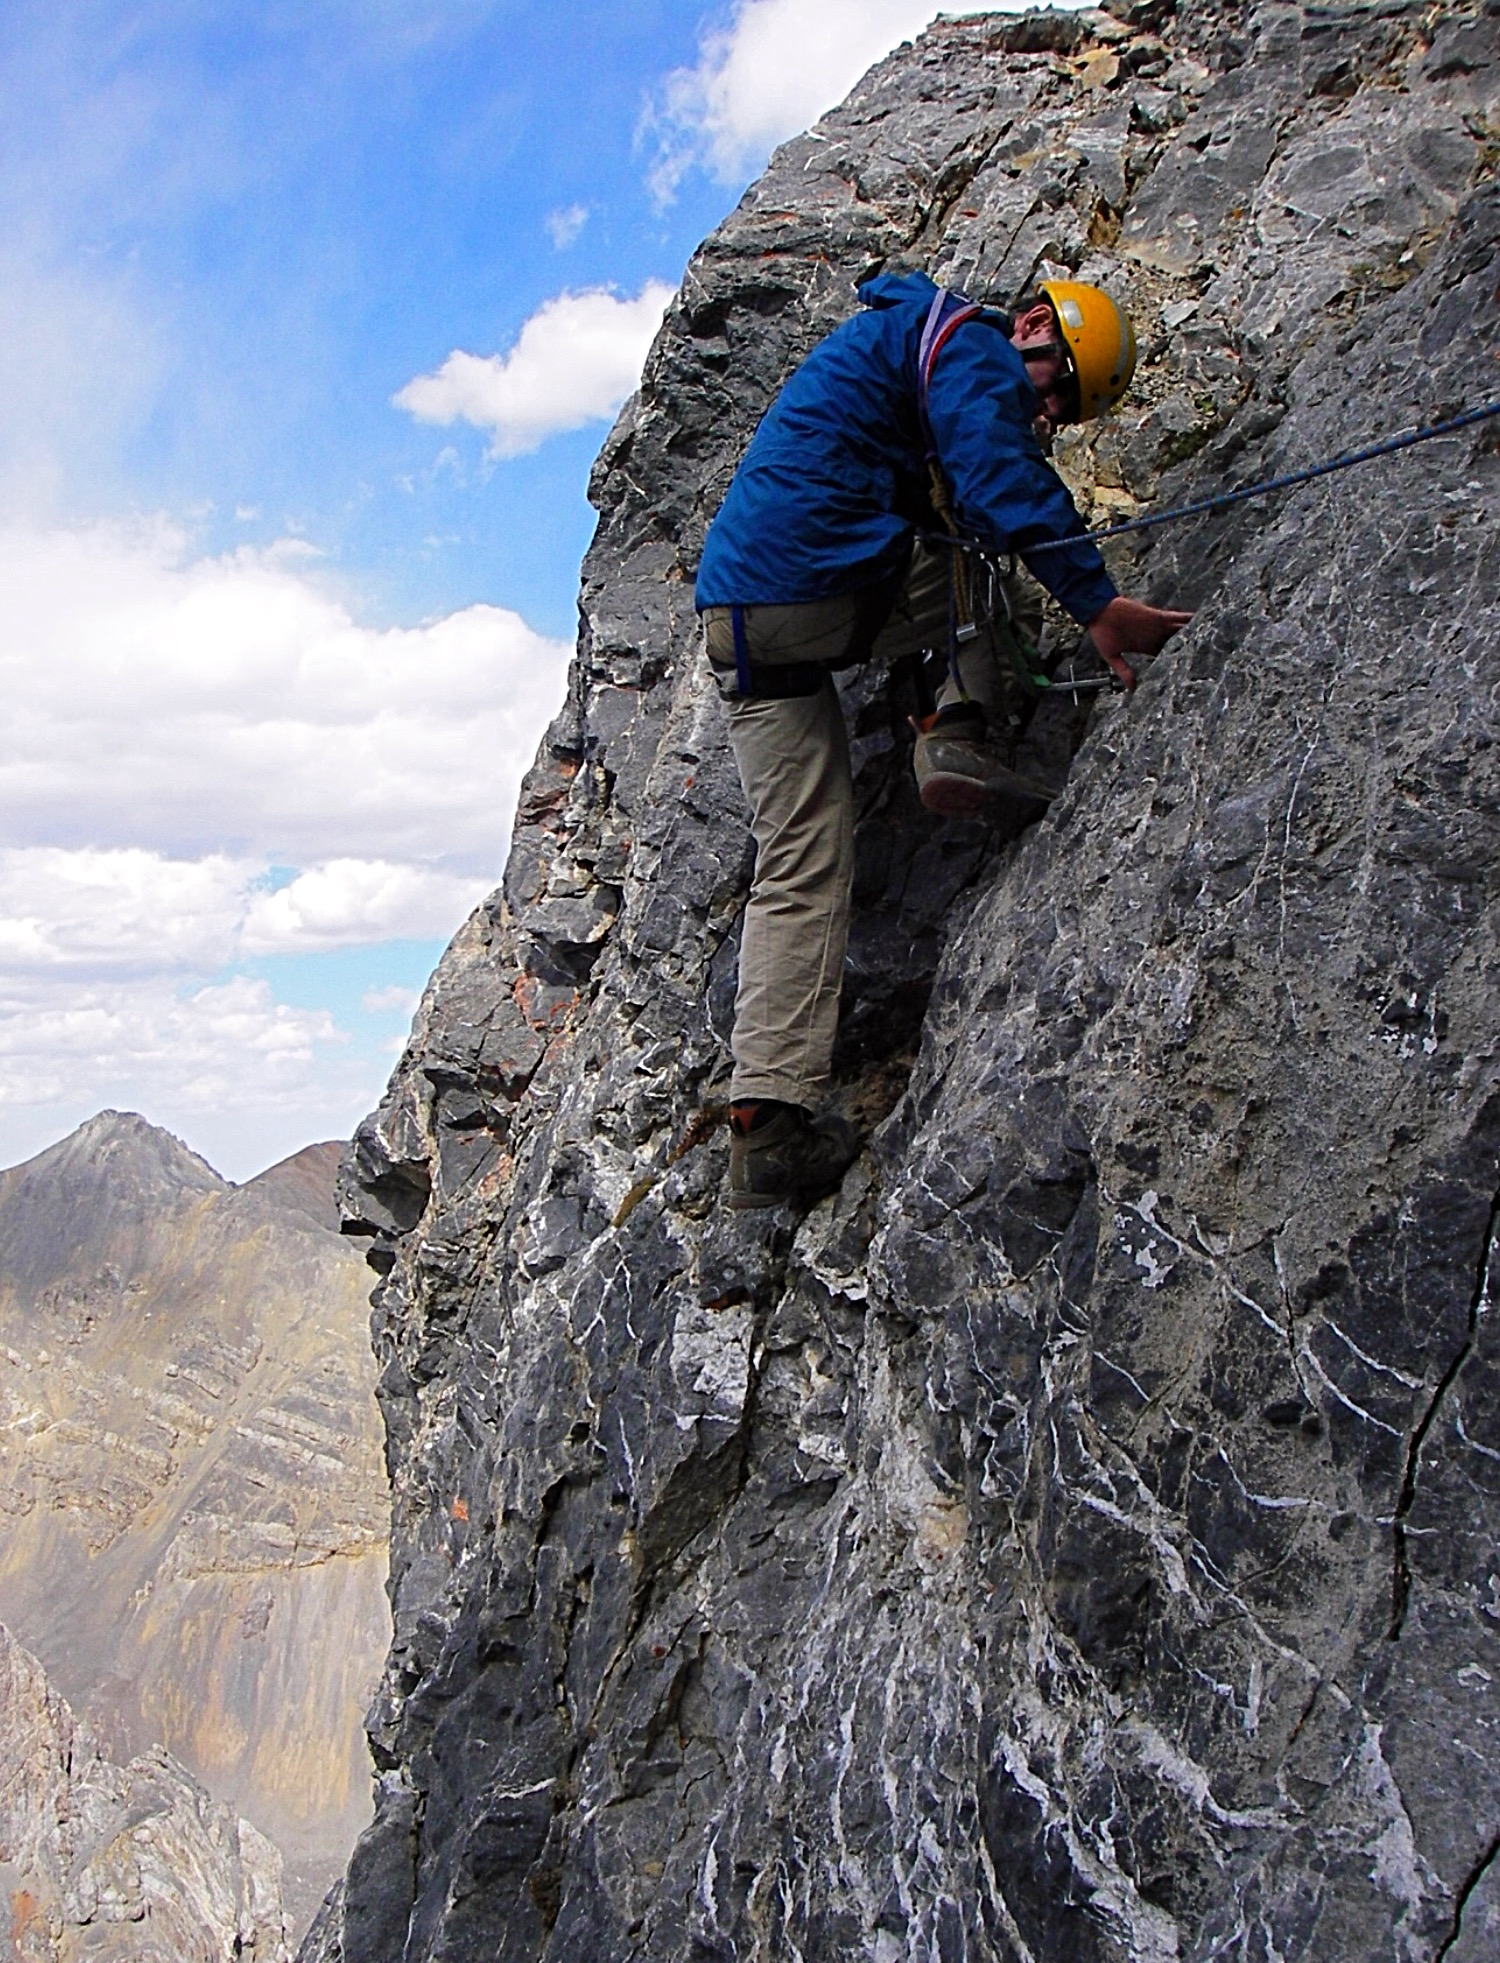
Carl Hamke placing protection in the crack above the whitish wall.
Looking across the whitish rock traverse.
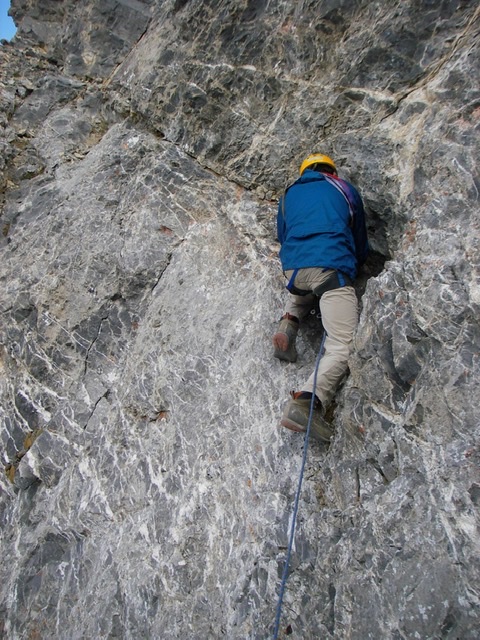
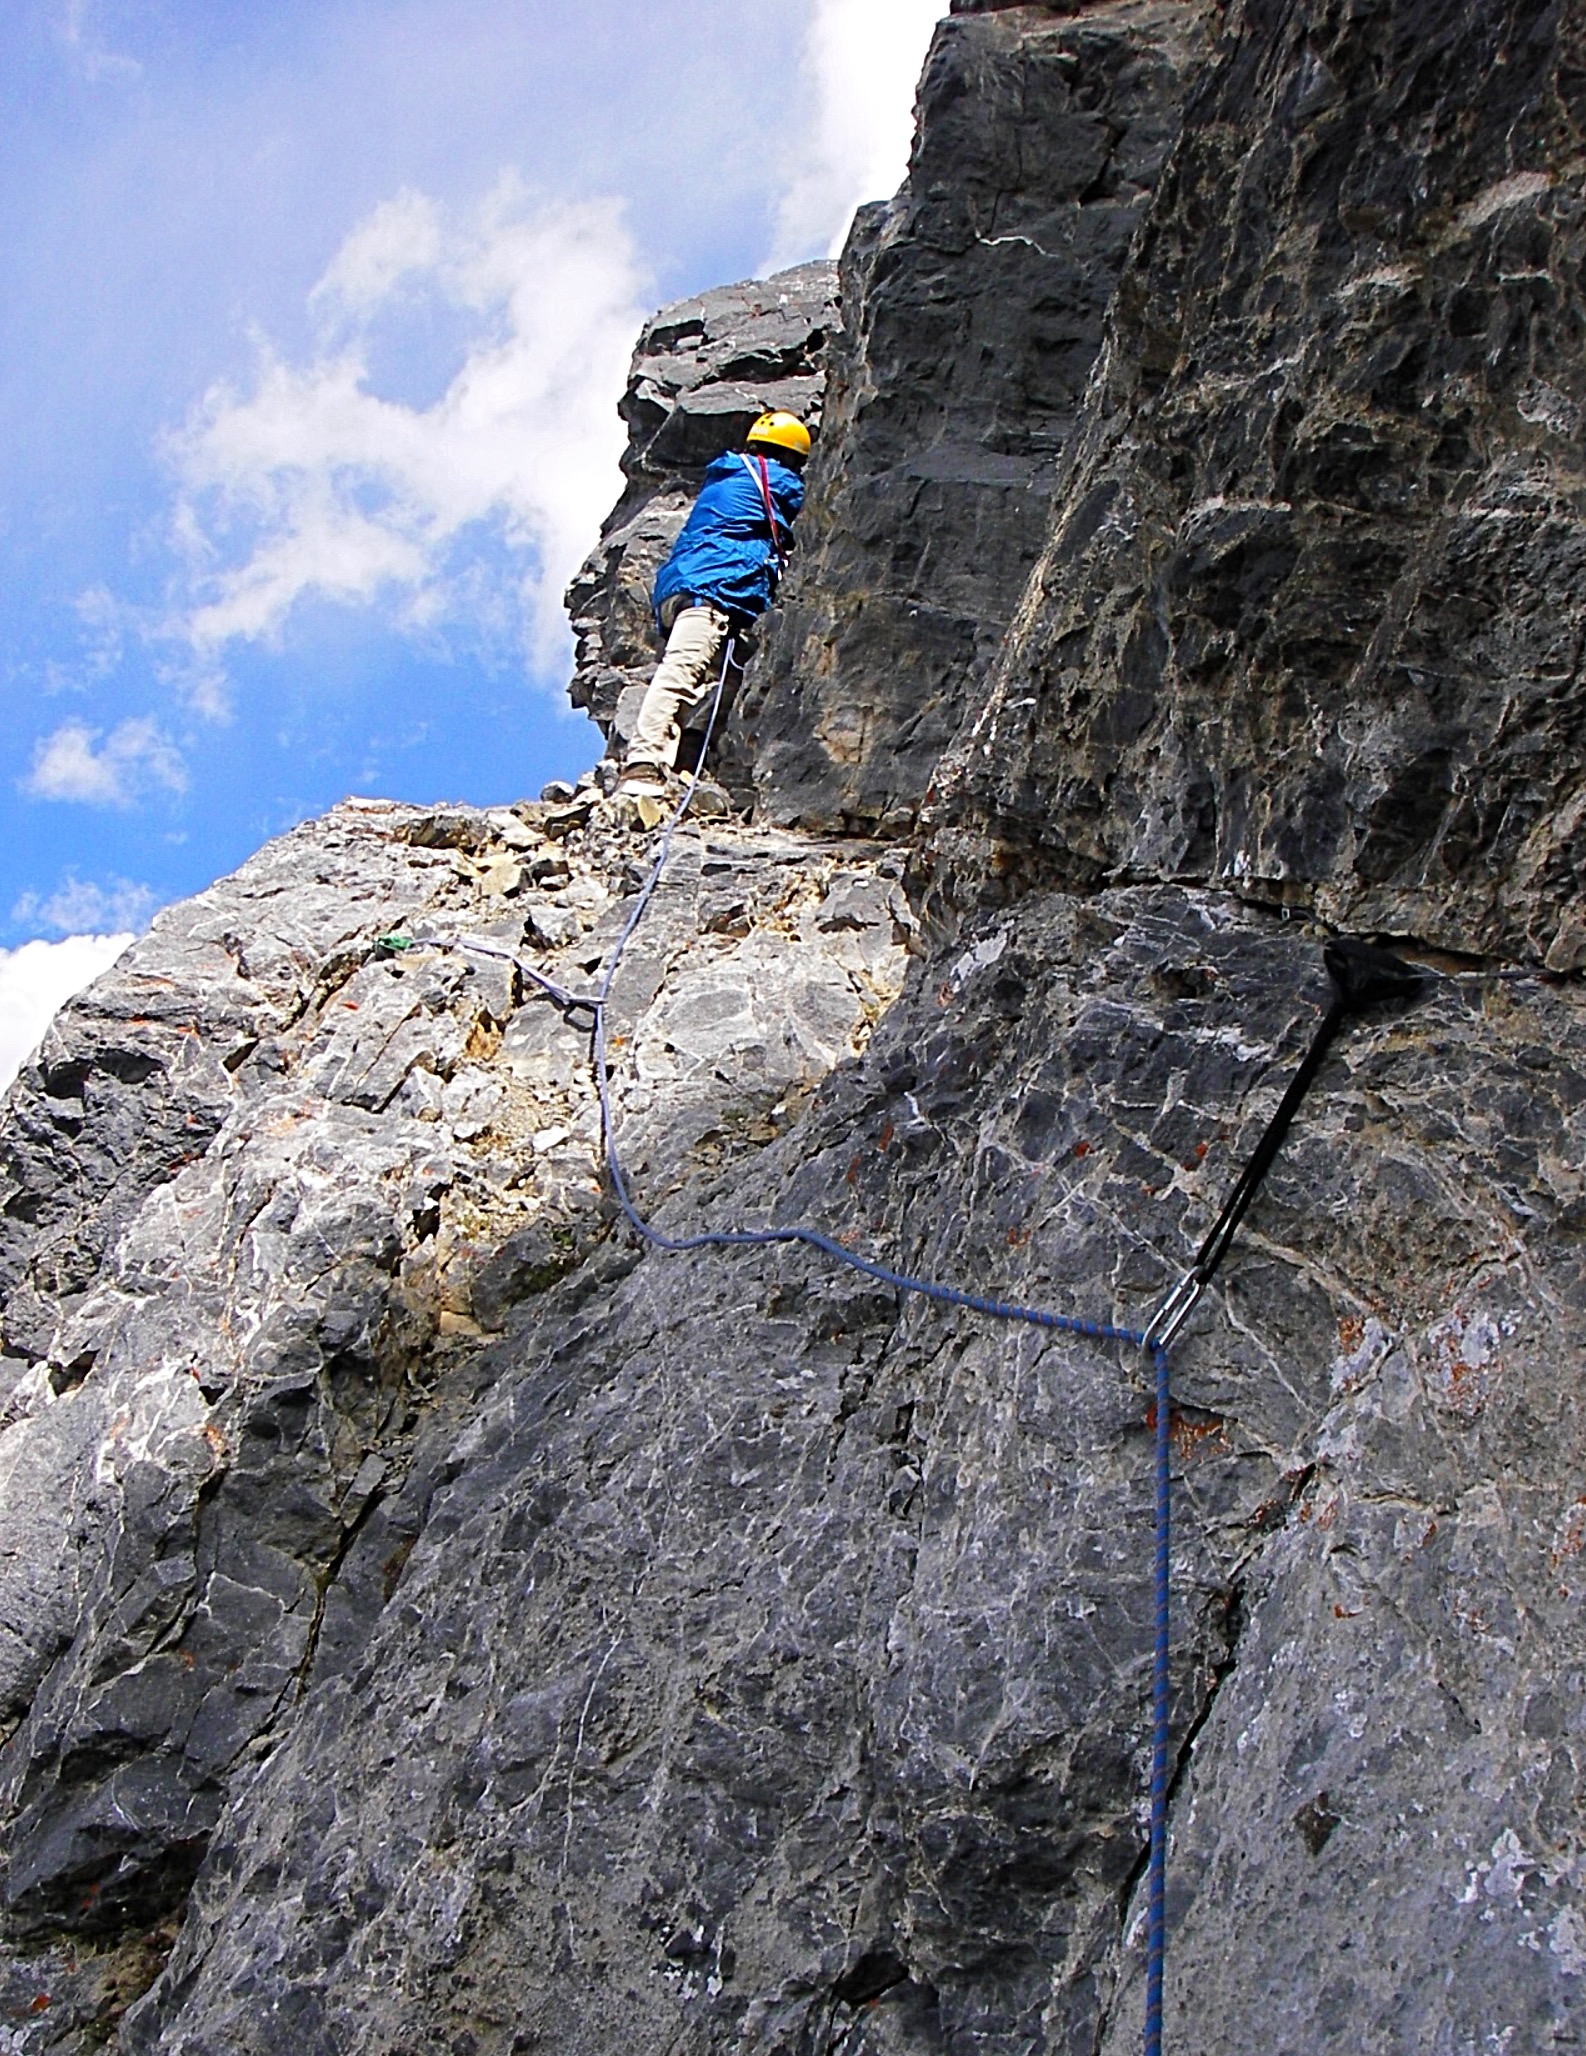
From the belay stance, move down to the left and traverse low to a small open book. Climb up to gain the ledge above Carl’s head. The first few moves up the book are 5.3-5.4, not a problem in hiking boots. Judi Steciak Photo
Above the shallow open book (red dashes), move up to the on a shelf to the right facing open book. Carl Hamke is at the base of the right-facing, open book. There are several good spots to place protection in this area. Hamke/Steciak Photo
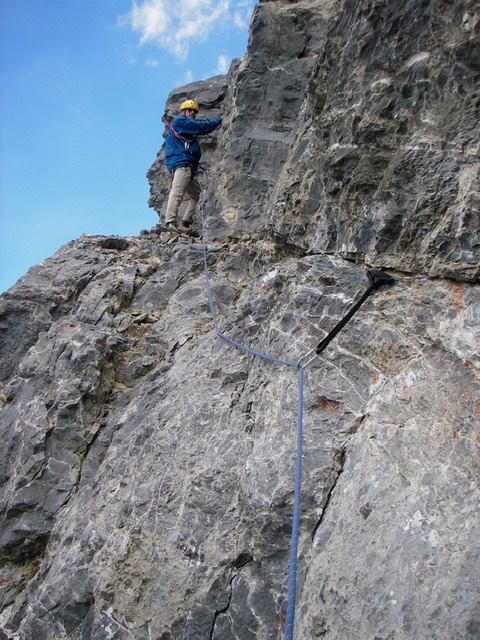
This photo shows the crack for placing protection above whitish traverse. Hamke/Steciak Photo
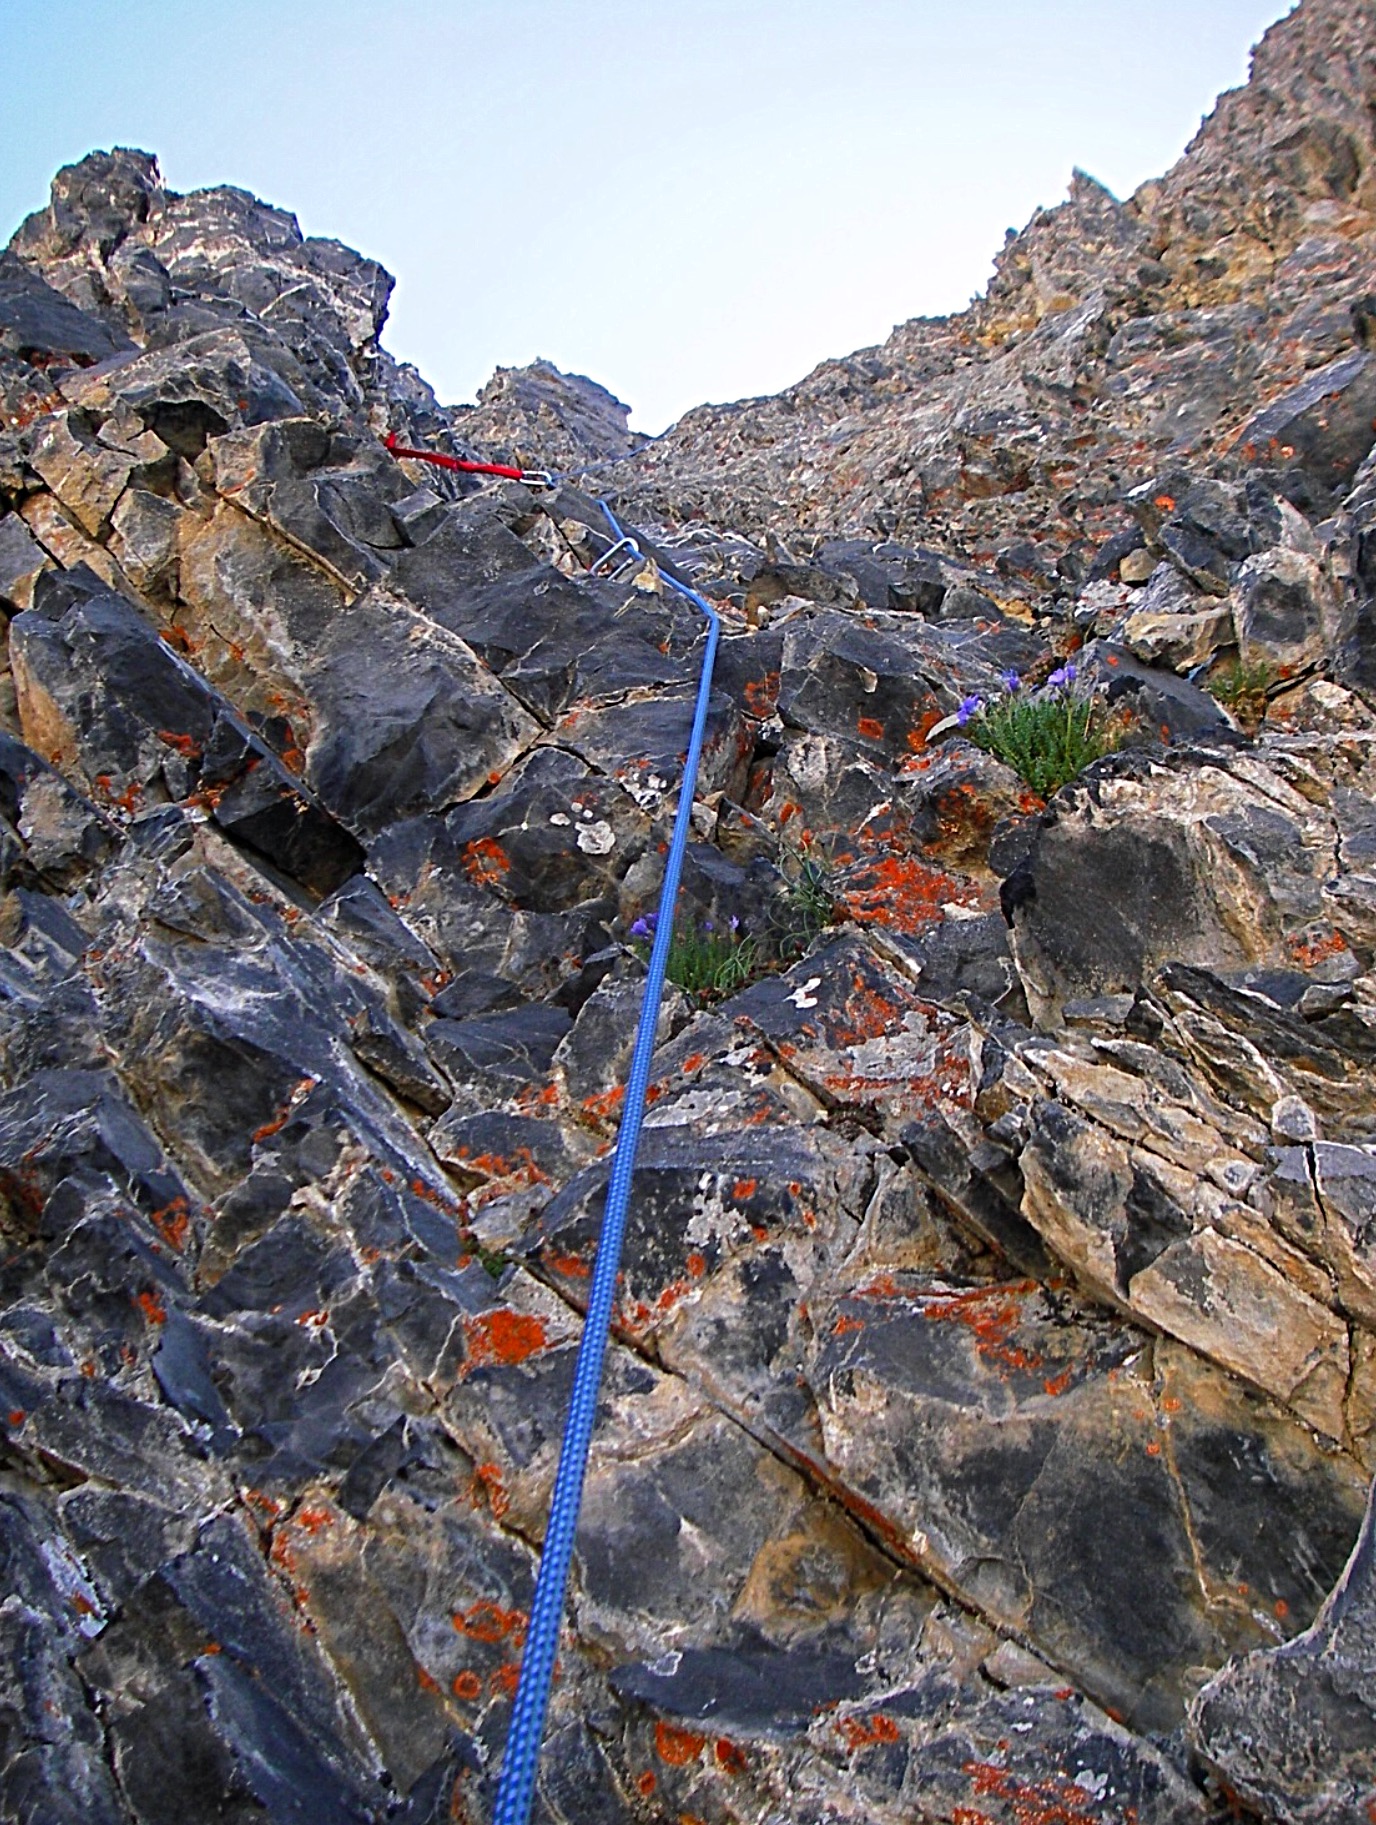
Move left on the ledge a short way until you reach the bottom of a narrow gully. Climb up this to the summit. The angle eases off and the rock quality deteriorates. The pitch was about ½ a rope length (60m rope). Judi Steciak Photo
This photo was taken at the point where the the open book flattens out—looking up toward the first of the two short headwalls. Judi Steciak Photo
This photo is looking down the route from the top of the first headwall. Judi Steciak Photo
Judi is at the top of the third short headwall just below the top of the ridge. Judi reports: “We downclimbed instead of rappelling, because we did not want to place all of our weight on the meager summit anchor.” Carl Hamke Photo
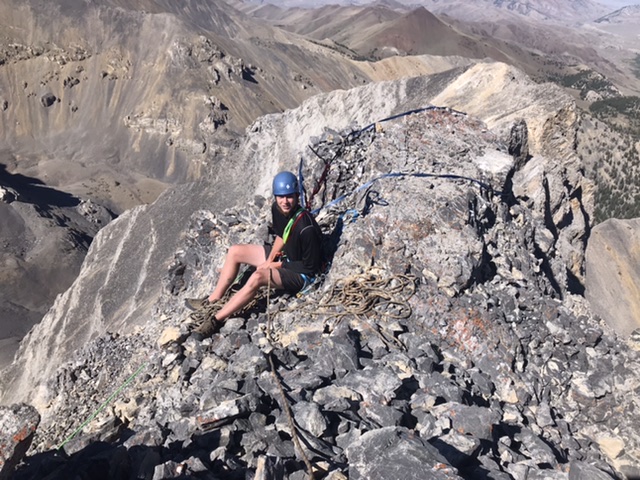
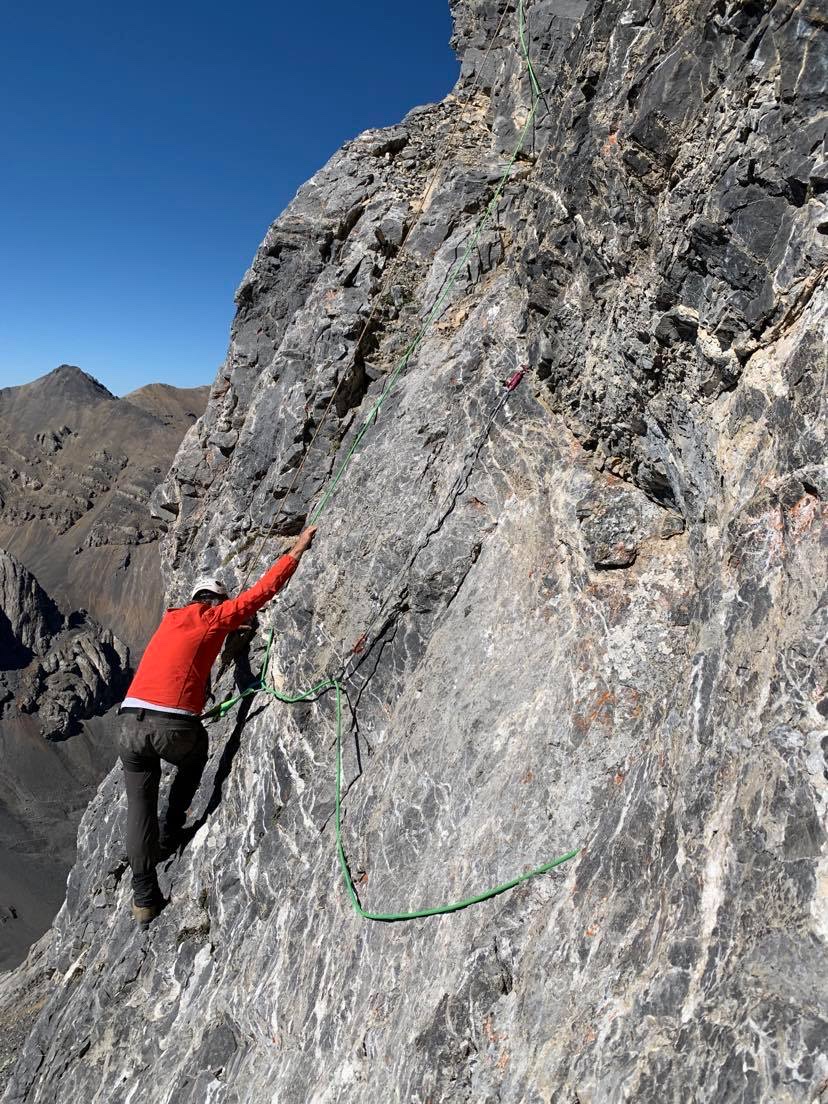
Daniel Todd belaying just below the summit. He was able to set up solid anchor on the block behind his back with the use of a LONG sling.
This photo shows the upper portion of the route. Derek Percoski Photo
Additional Notes
Hamke and Steciak took a small rack, maybe 10 mid- to small-sized pieces (hexes, wired stoppers, and camming devices) and long runners. Carl reports: “We found protection for the lowest belay anchor, two wired stoppers in opposition, in the horizontal crack above the whitish traverse. We could not find a solid anchor to rappel from the summit as it was all loose rock. I belayed Judi while she down-climbed and placed protection for me. Then I used a couple of long runners around the base of the summit cairn and down-climbed while self-belaying, without loading the rope. See the photo below (this is a 4-biner rappel brake with a prussik backup). 
Back on the ledge at the top of the open book, it became clear that it would be difficult to retrieve the rope once I was back to the belay – too many jagged edges for it to get hung up on. I left Judi’s pro temporarily in place while I re-tied myself into a bight of the rope – Judi had me on belay – and was able to pull the rest of rope from the summit. From there I continued down, removing all of the pro while Judi kept me on belay. We used a 9mm rope. Bring a 50-meter rope (a shorter rope won’t be long enough) and a helmet.”
Pat McGrane adds “I would bring about 6-8 pieces of gear and a few slings including a long one for the anchor. Bring two C4 cams, the red one and the yellow one. Then 5-6 smaller stoppers. It is pretty easy but you will want to overprotect it because we downclimbed the pitch rather than rappel. There is really nothing to rappel off. The top is simply a pile of rocks. I used one of the cams in a slot near the bottom and could get in a couple of small stoppers at the top for an anchor but I did not trust them to rappel off. I used the small stoppers and the long sling for the belay at the summit. I then belayed up John and George.
To descend, I belayed George and Johnny down with a top rope and asked them to replace the gear to protect me because I needed the pro after the hard parts since I was down-climbing. George did this. Then I down-climbed the route with a belay from below.”
I would add that, using an anchor as set up by Daniel Todd (shown in the photo above), it would be possible to rappel off the ridge. However, the 60-meter rope would have only safely reached down to the top of the ledge above the whitish wall traverse. After some discussion, Daniel and I decided there was so much loose rock on the upper route that a rappel would undoubtedly drop rock on the rappeller. So Daniel belayed me down and then he down-climbed the route.
Additional Photos
Looking SE from Cleft Peak, True Grit hides in front of Ferguson Peak on the left. Get psyched to ascend about 1,000 feet of scree to the 100-foot summit block. Judi Steciak Photo
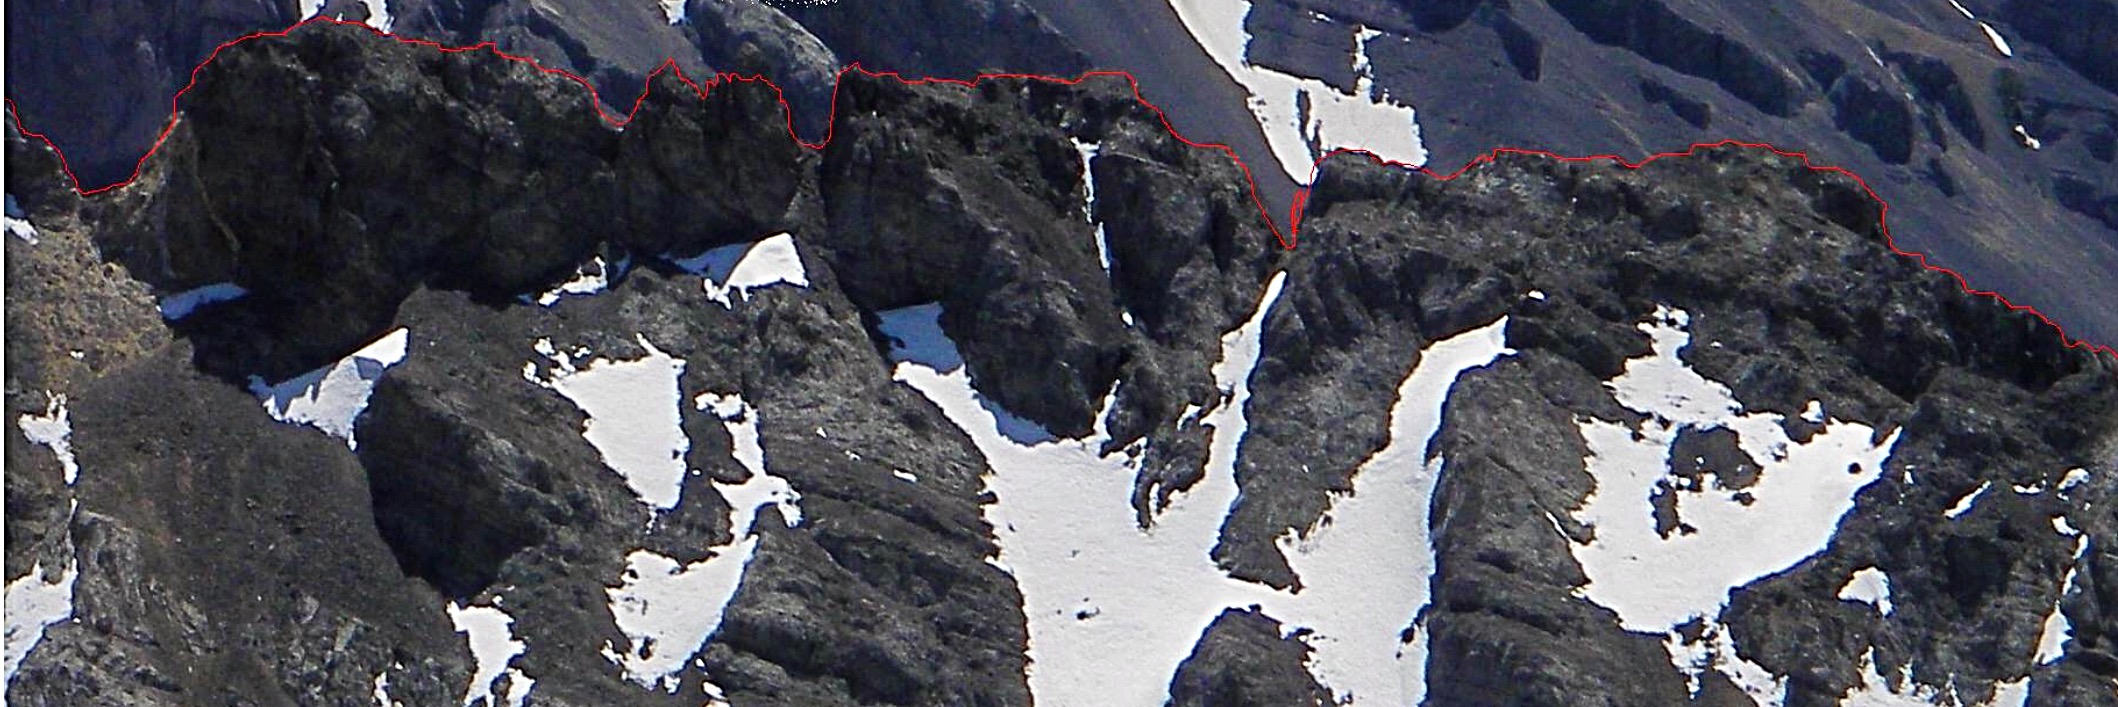
Outlining the summit ridge reveals the highest point on the left. Judi Steciak Photo
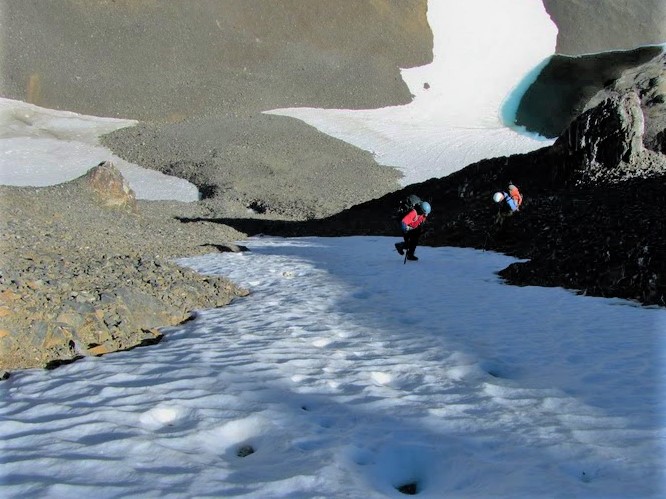
Pat McGrane notes: It is possible to avoid the “1000 feet of scree” and instead climb 35-degree snow from the valley floor to just below the final rock climb if done by early July. George Reinier Photo
True Grit’s summit block. George Reinier Photo
Pat McGrane notes: The start of the climb is characterized by a relatively crack-free area of grey rock with white veins throughout. Pat and John at the start. George Reinier Photo
Partway up the gully, looking down. Judi Steciak Photo

The first ascent team on the summit: George Reinier, Johnny Roache and Pat McGrane. George Reinier Photo
The second ascent team, Carl Hamke and Judi Steciak.
Additional Resources
Regions: EASTERN IDAHO->Lost River Range
Mountain Range: Lost River Range
Year Climbed: 2020
First Ascent Information:
- First Ascent Year: 2011
- Season: Summer
- Route:
- Party: George Reinier, Johnny Roache and Pat McGrane
Longitude: -113.64627 Latitude: 44.08956